
User Guide
Everything you need to set up SecondDisk, back up your photos and contacts to your email or USB drive, and find them again later.
1. Install & open SecondDisk
Get the app
Install SecondDisk from Google Play, or download it directly as an APK file, then open it on your Android phone.
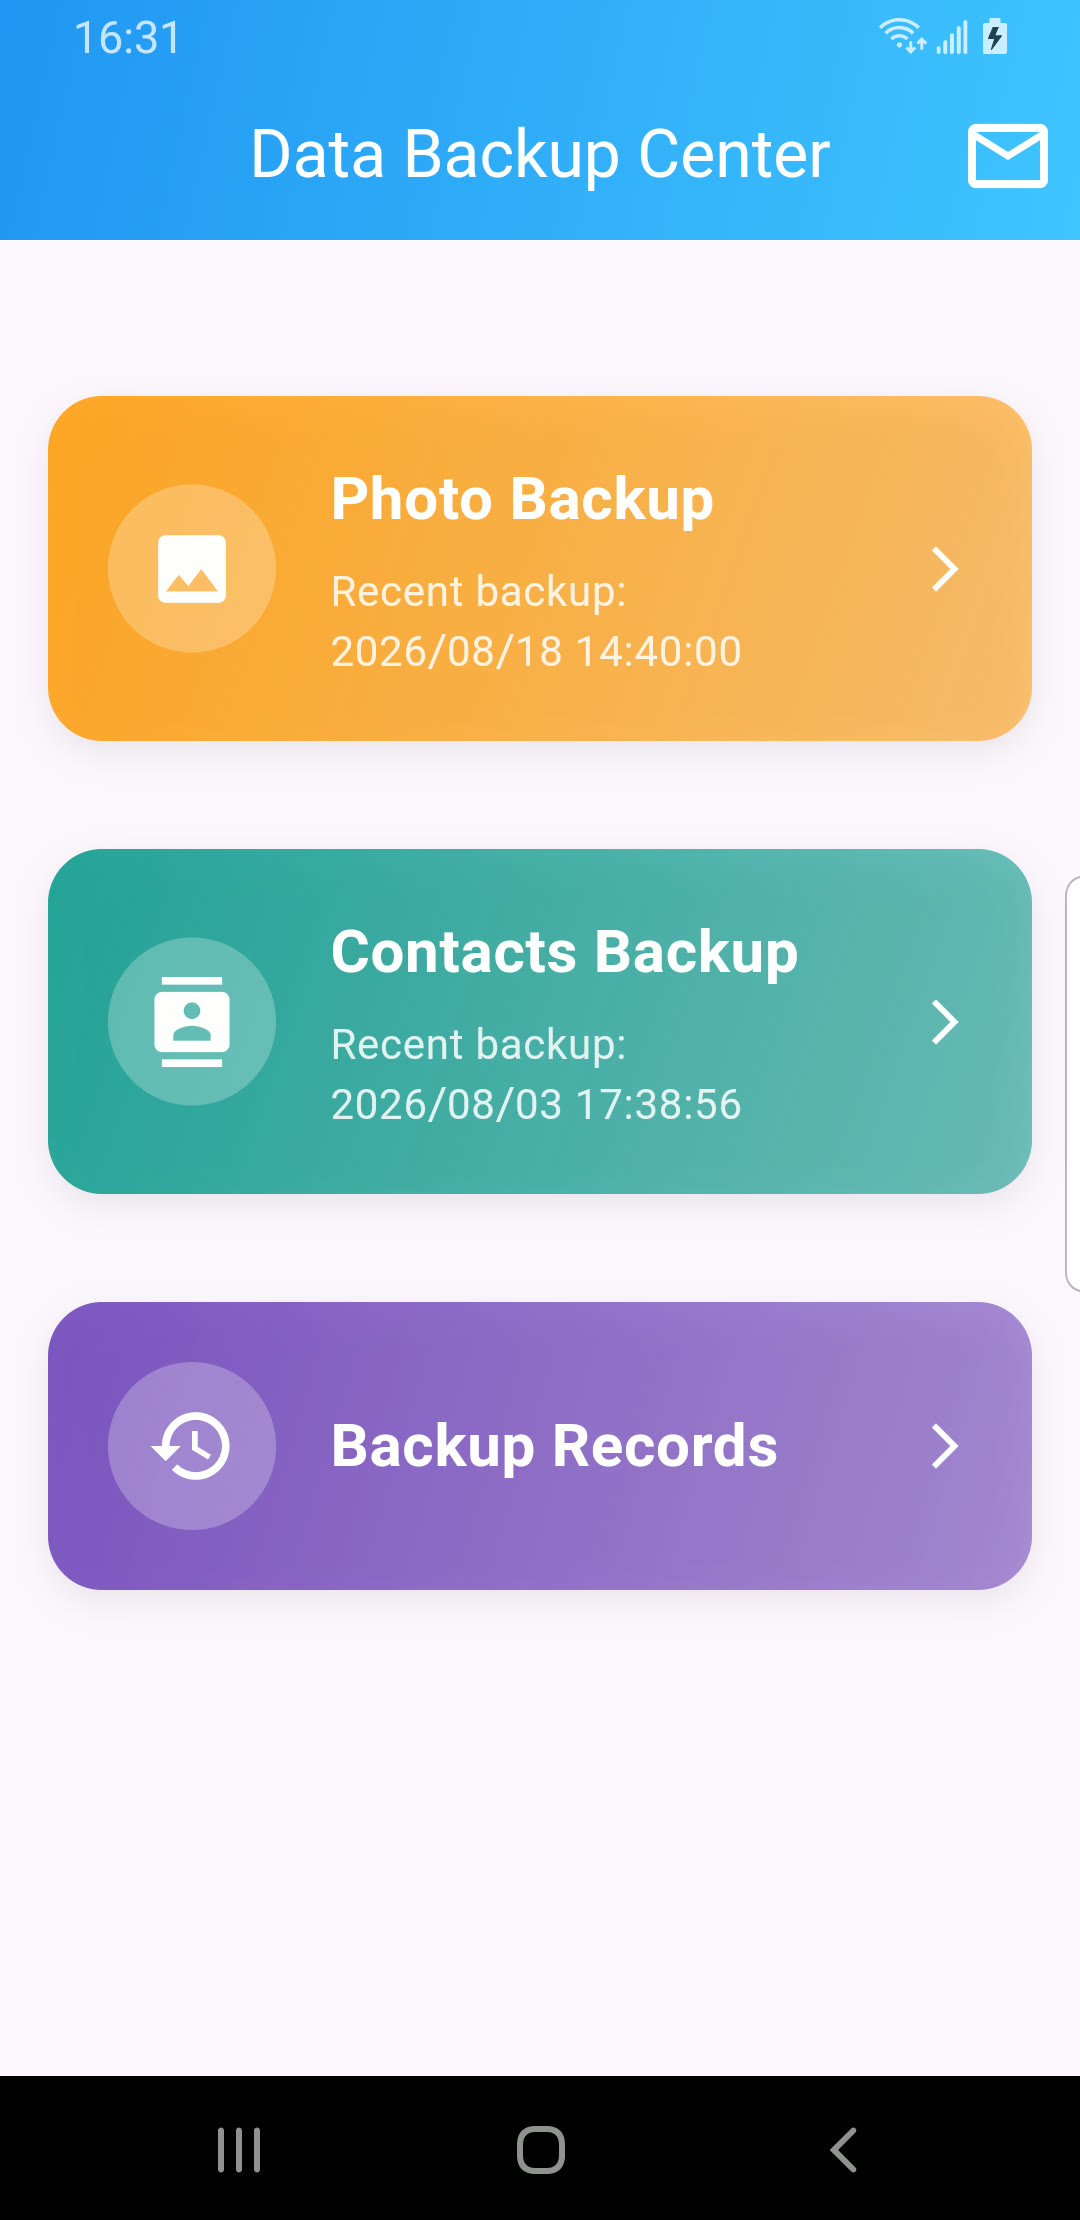
Open the Data Backup Center
SecondDisk opens to the Data Backup Center, with Photo Backup and Contacts Backup cards, plus a Backup Records button and an email management icon in the top corner.
2. Set up your backup email
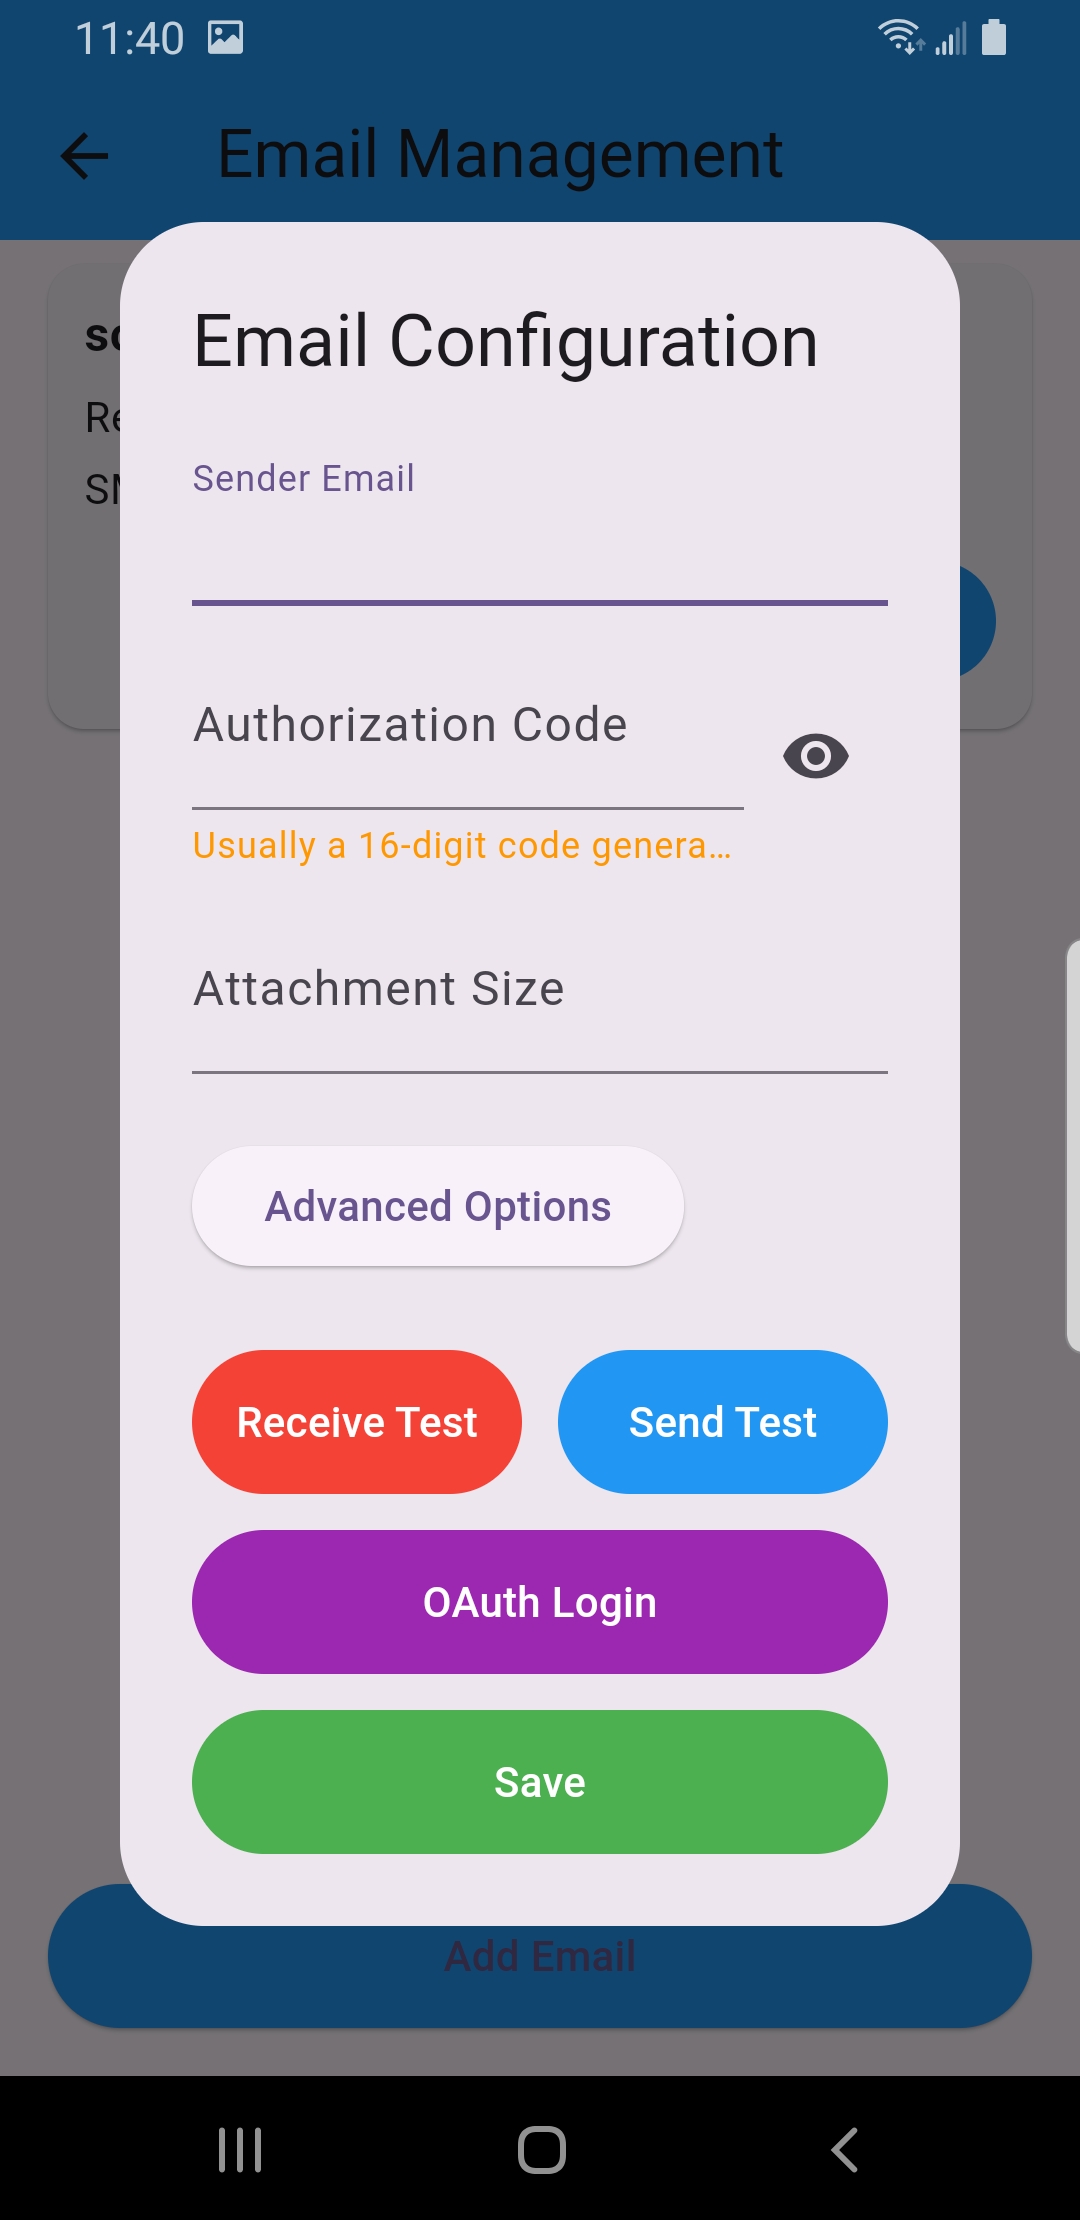
Before your first email backup, tell SecondDisk which account to use. Tap the email icon on the home screen, add or edit an account under Email Management, then choose either OAuth Login or an app password authorization code.
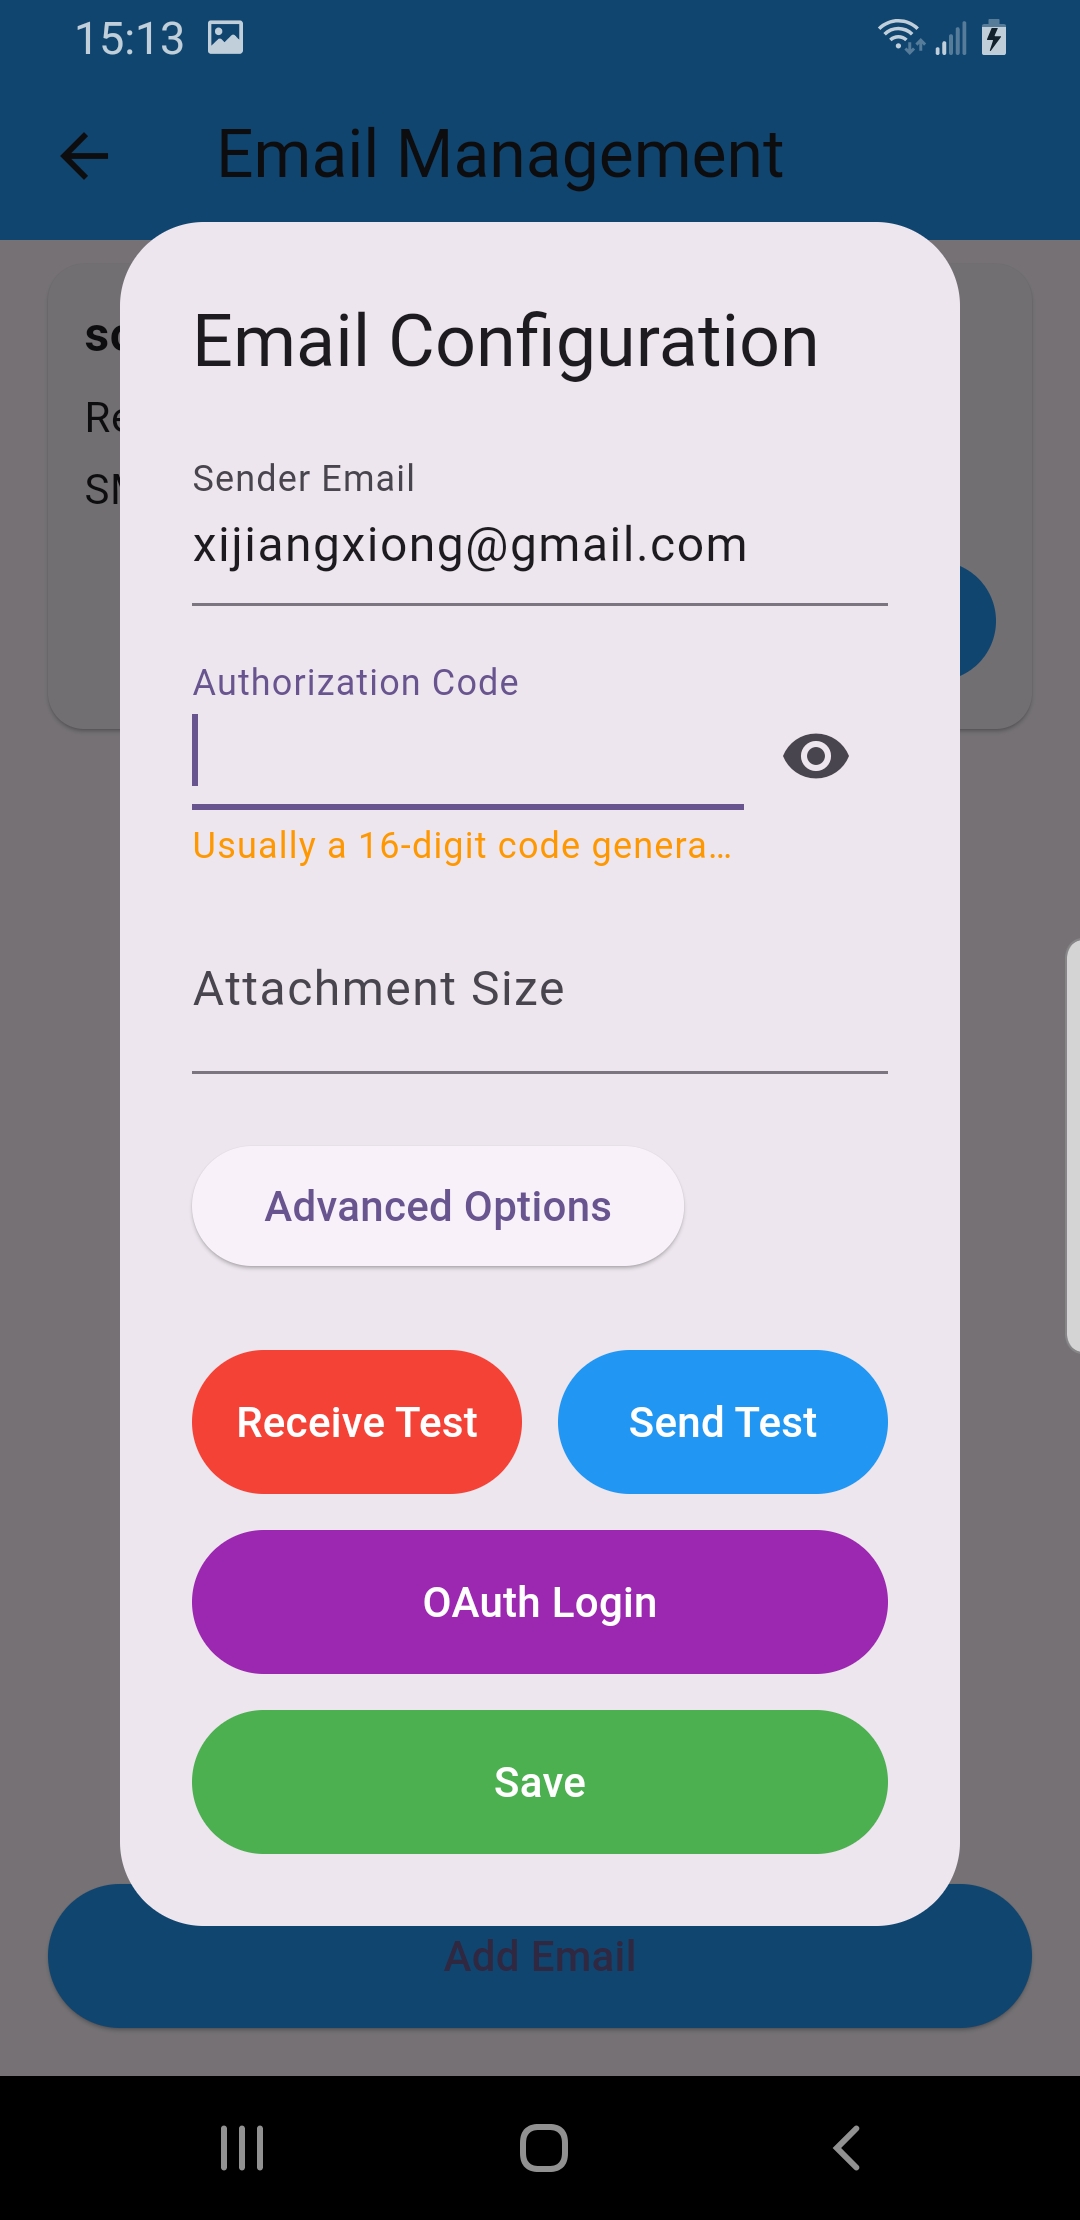
Enter your sender email
Type the address SecondDisk should use for backup delivery in Sender Email.
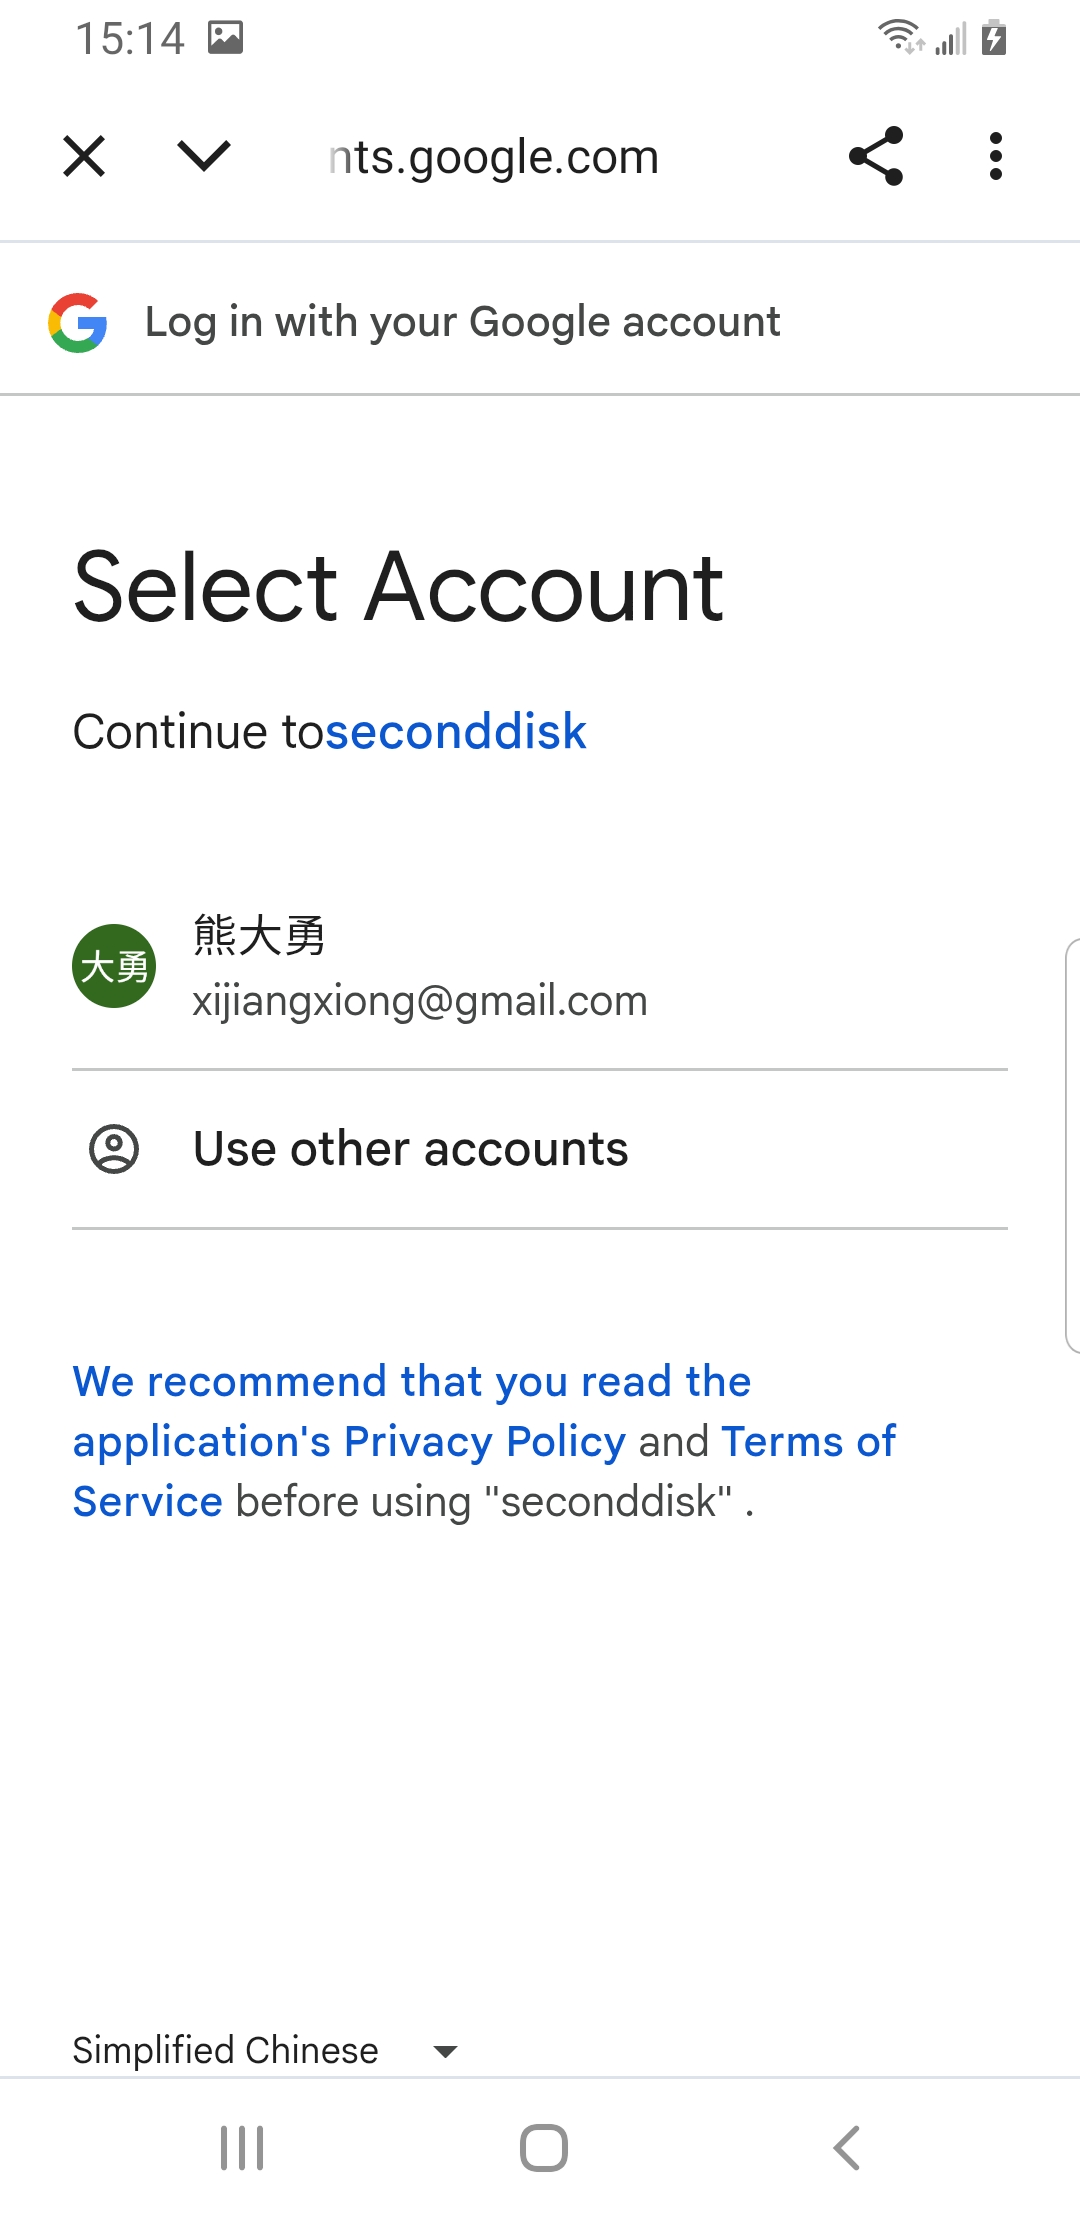
Sign in with OAuth
If your provider supports OAuth, tap OAuth Login, choose your Google account, then tap continue on the permission screen. When the notice says OAuth authorization successful, tap OK.
Or use an authorization code
In Authorization Code, paste the app password your email provider generates (often a 16-character code) — not your normal login password.
Test, then Save
Use Send Test / Receive Test to confirm it works, set the Attachment Size if you wish, then tap Save.
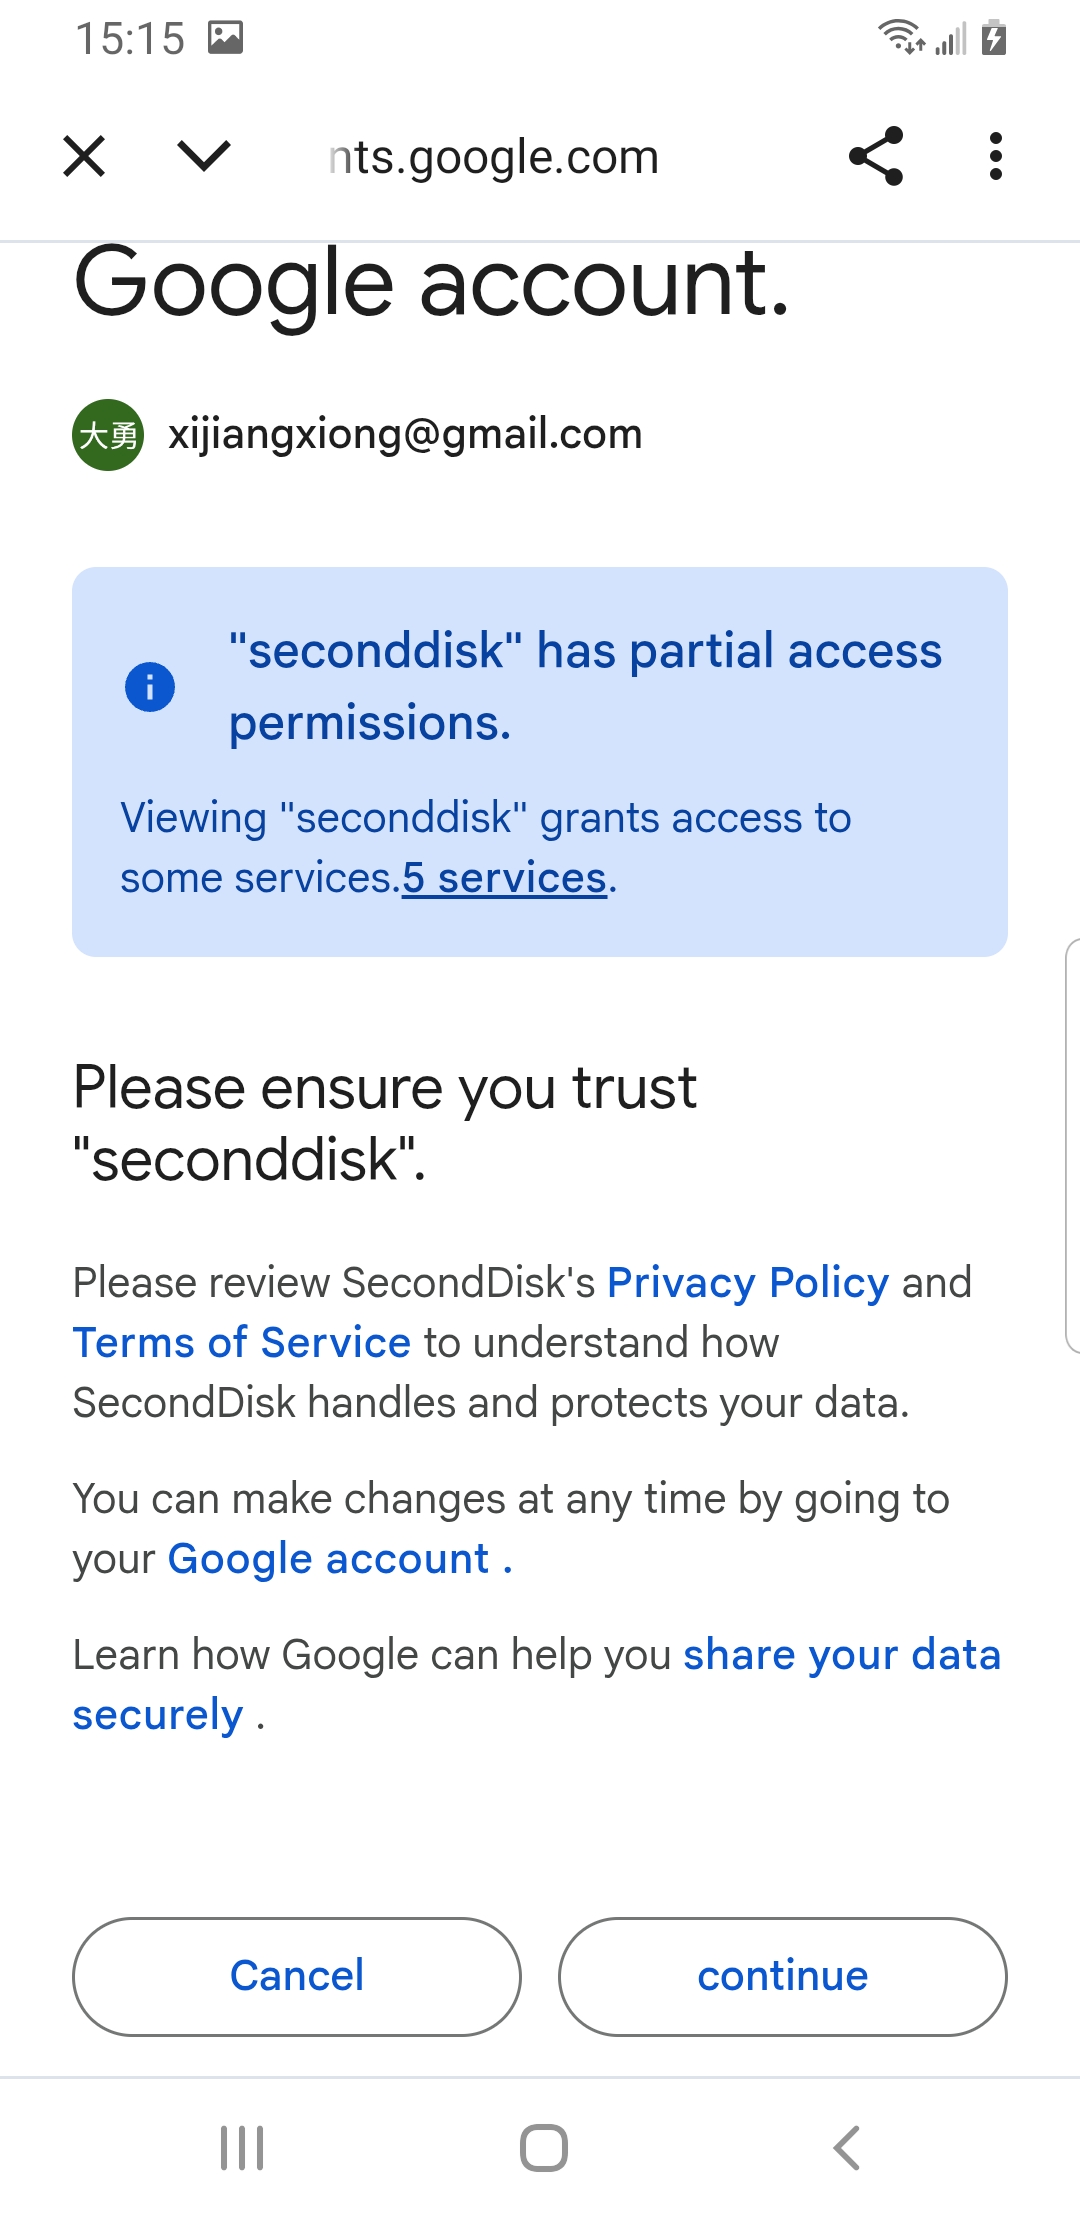
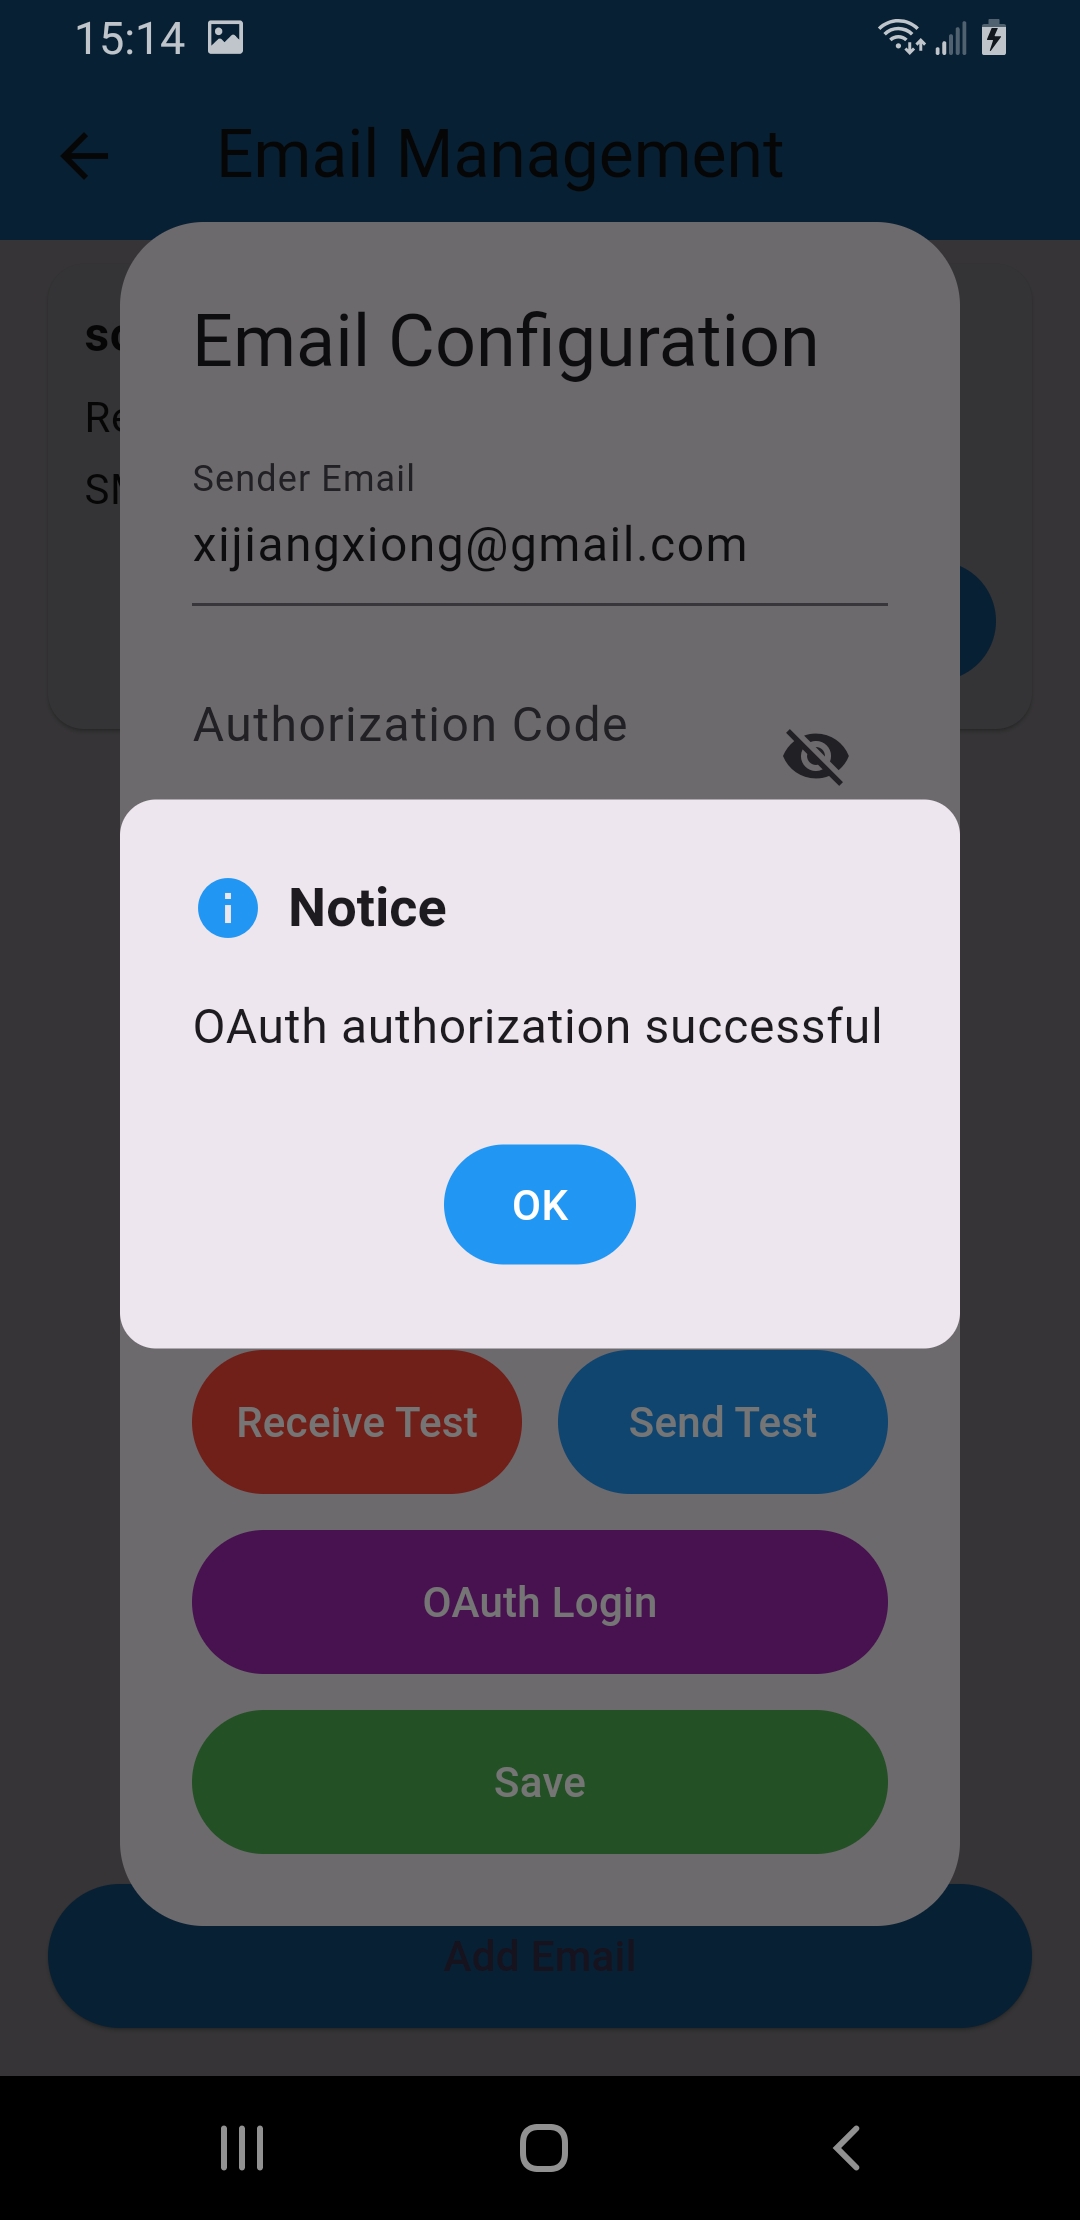
OAuth vs. authorization code: use OAuth when it is available. If you use an authorization code instead, most providers (Gmail, Outlook, QQ, 163…) require an app password generated in your account’s security settings.
3. Allow access when asked
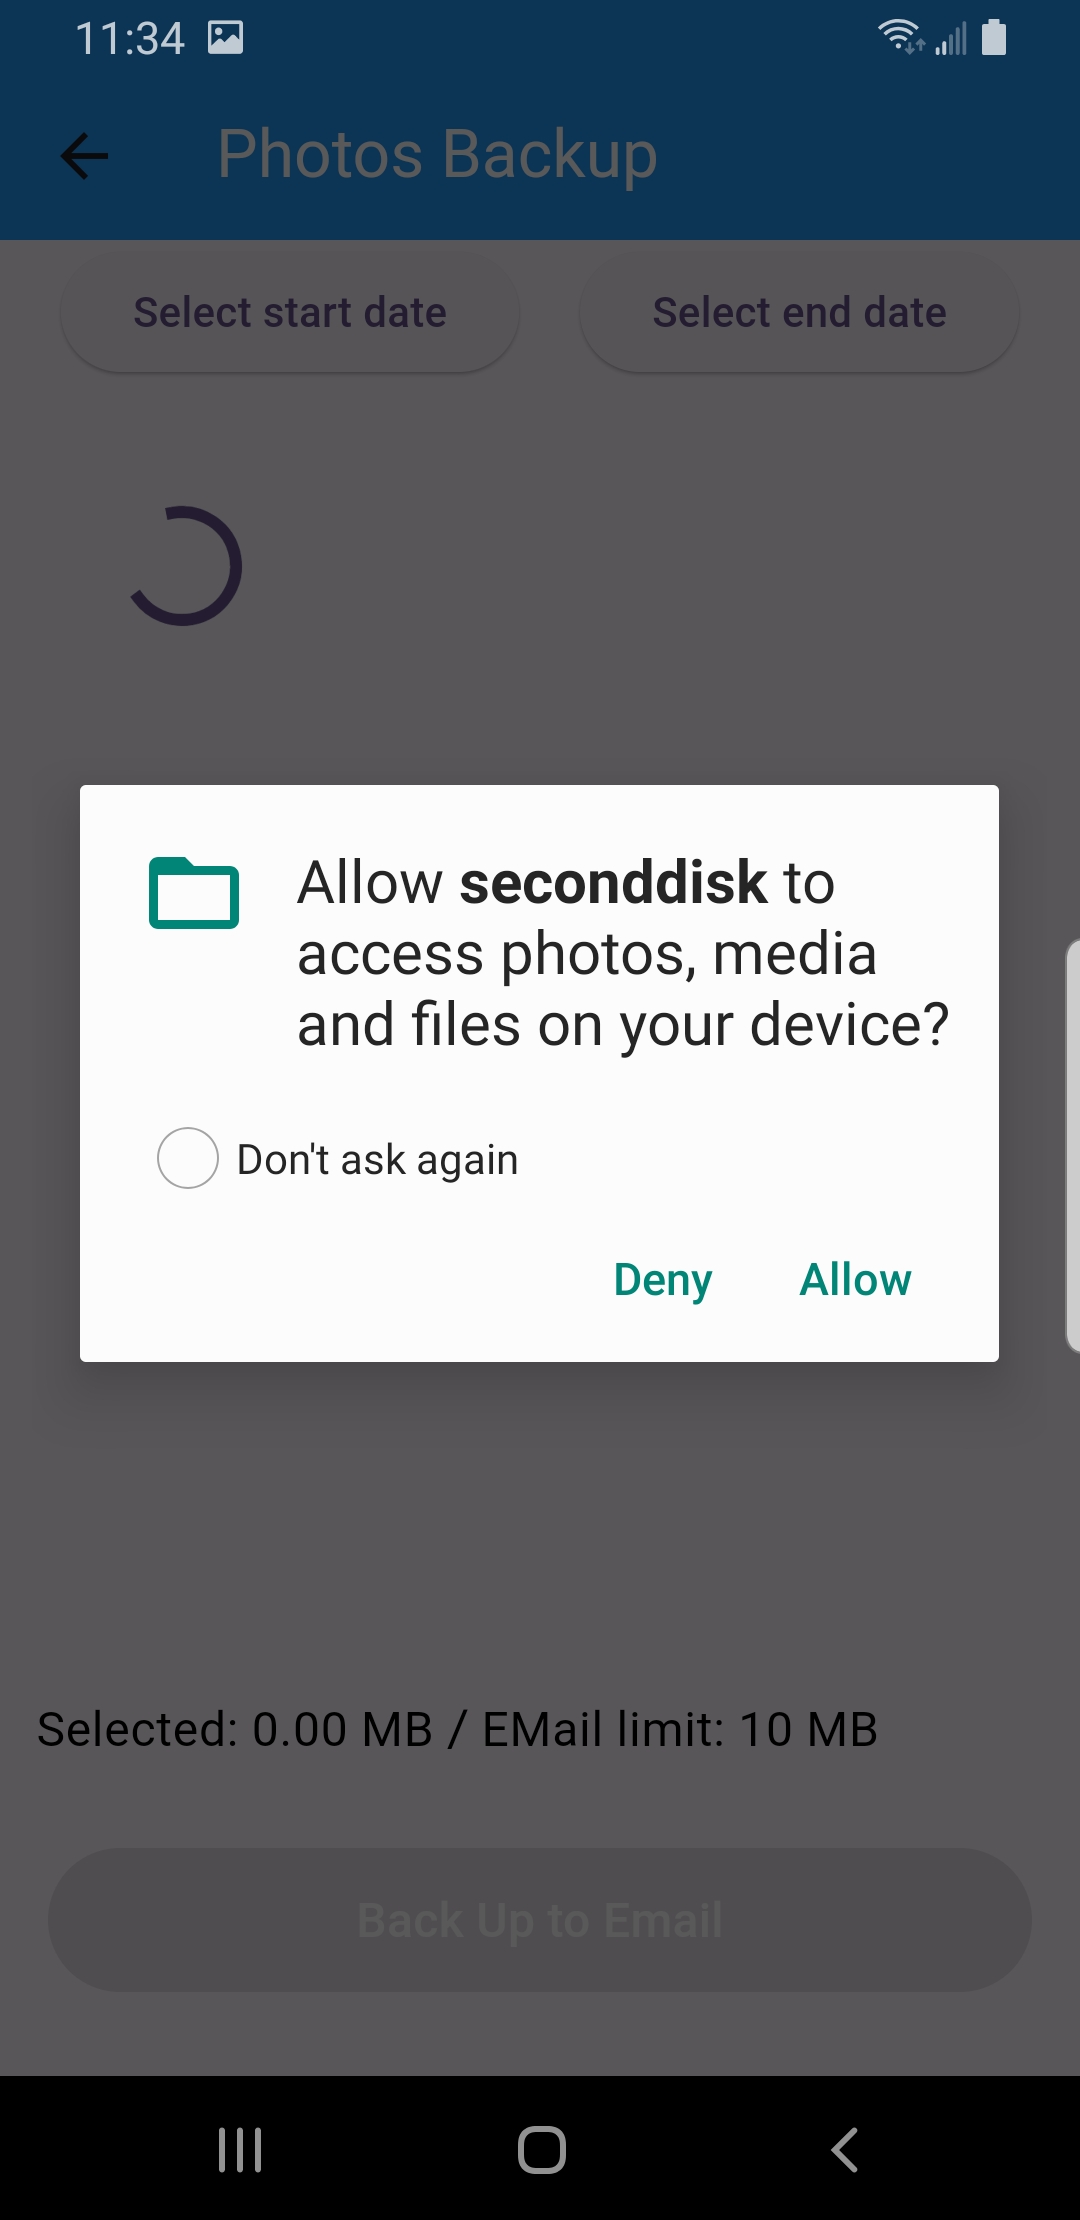
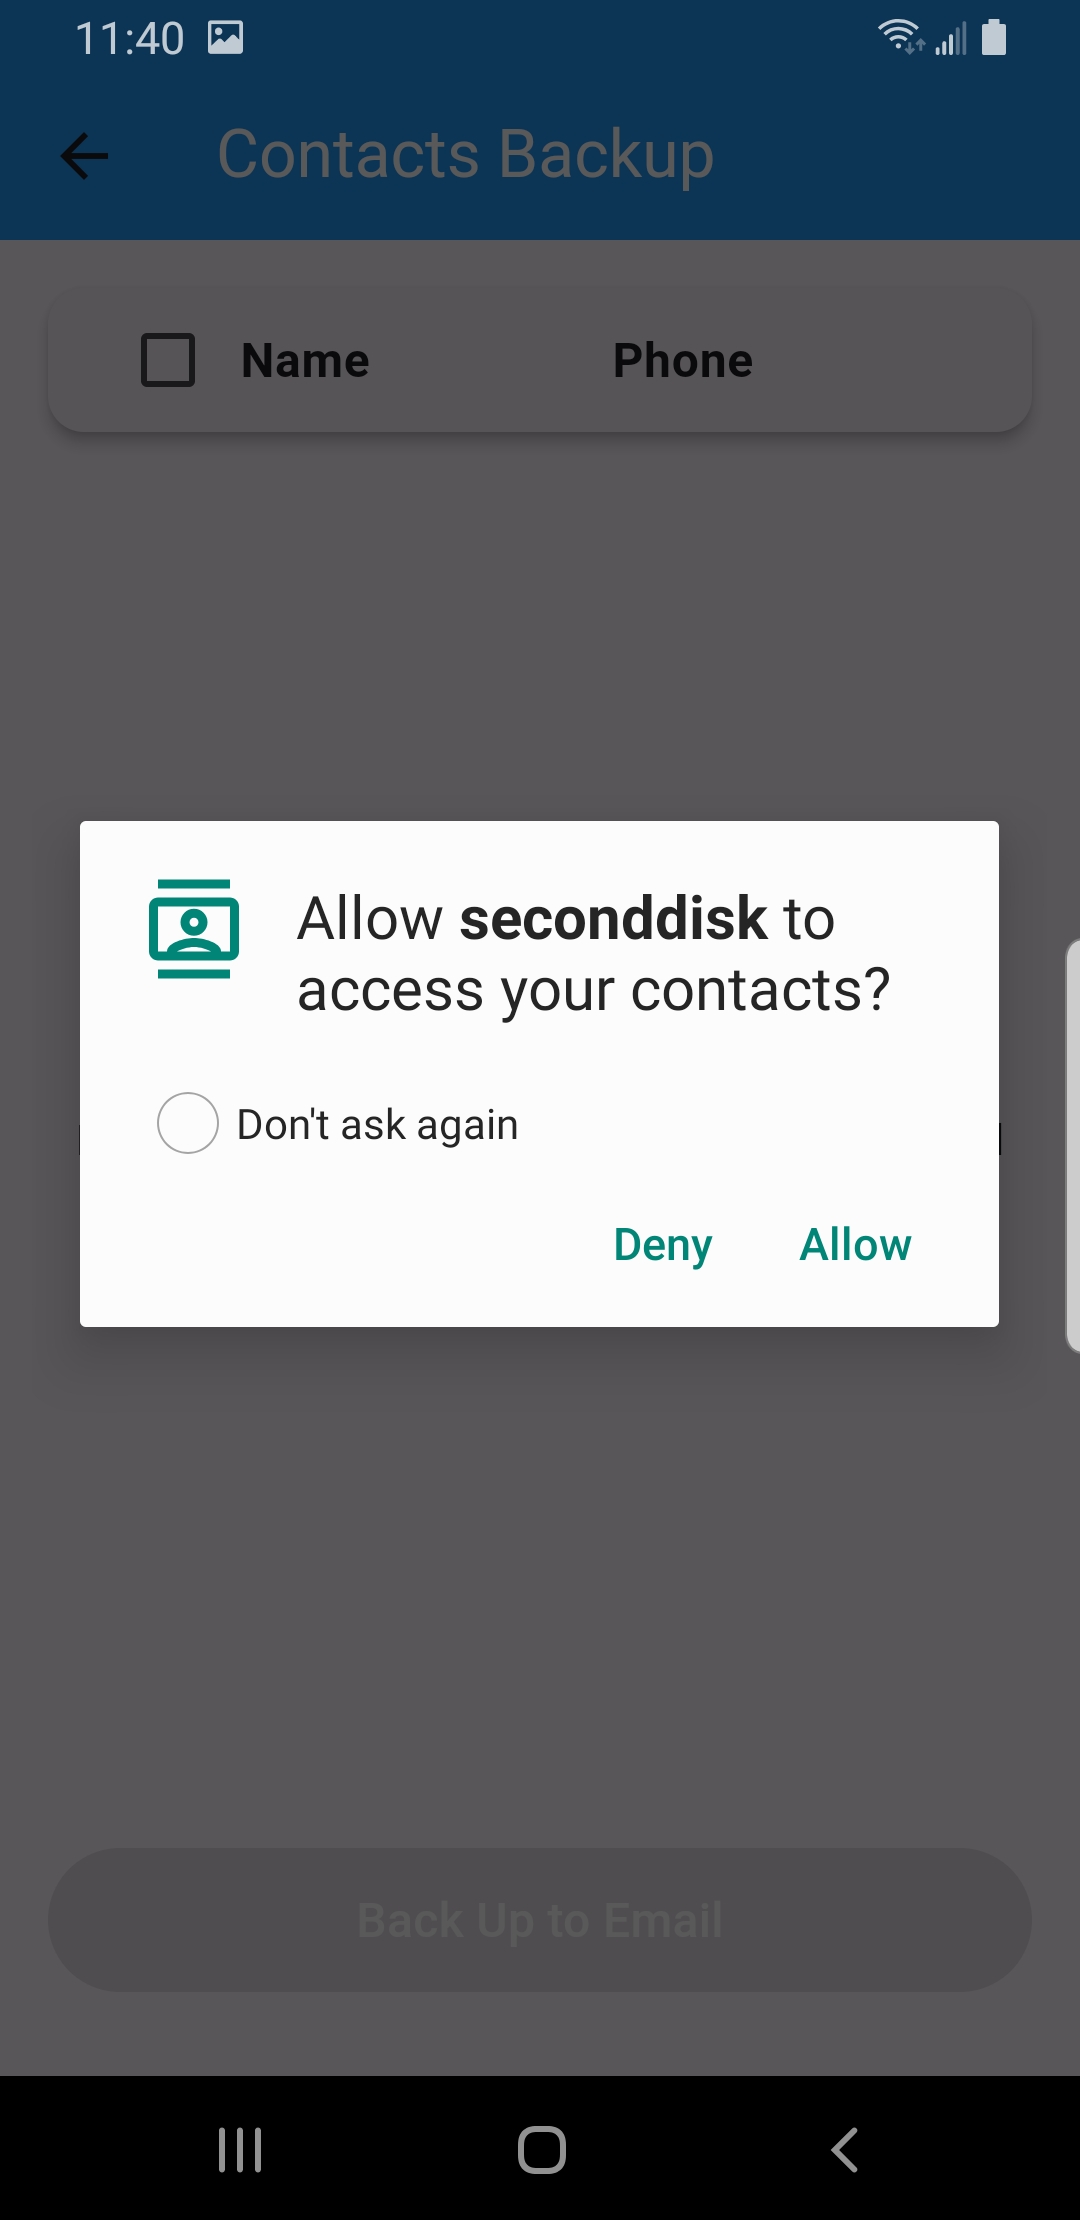
The first time you open Photo Backup or Contacts Backup, Android asks permission to read that data. Tap Allow so SecondDisk can include it — it only reads what you choose to back up.
4. Back up photos & contacts
Open a backup type from the home screen, choose what to include, and tap Back Up to Email. Each screen shows the selected size against your email’s attachment limit, then displays Archiving to email… while it sends.
Photos
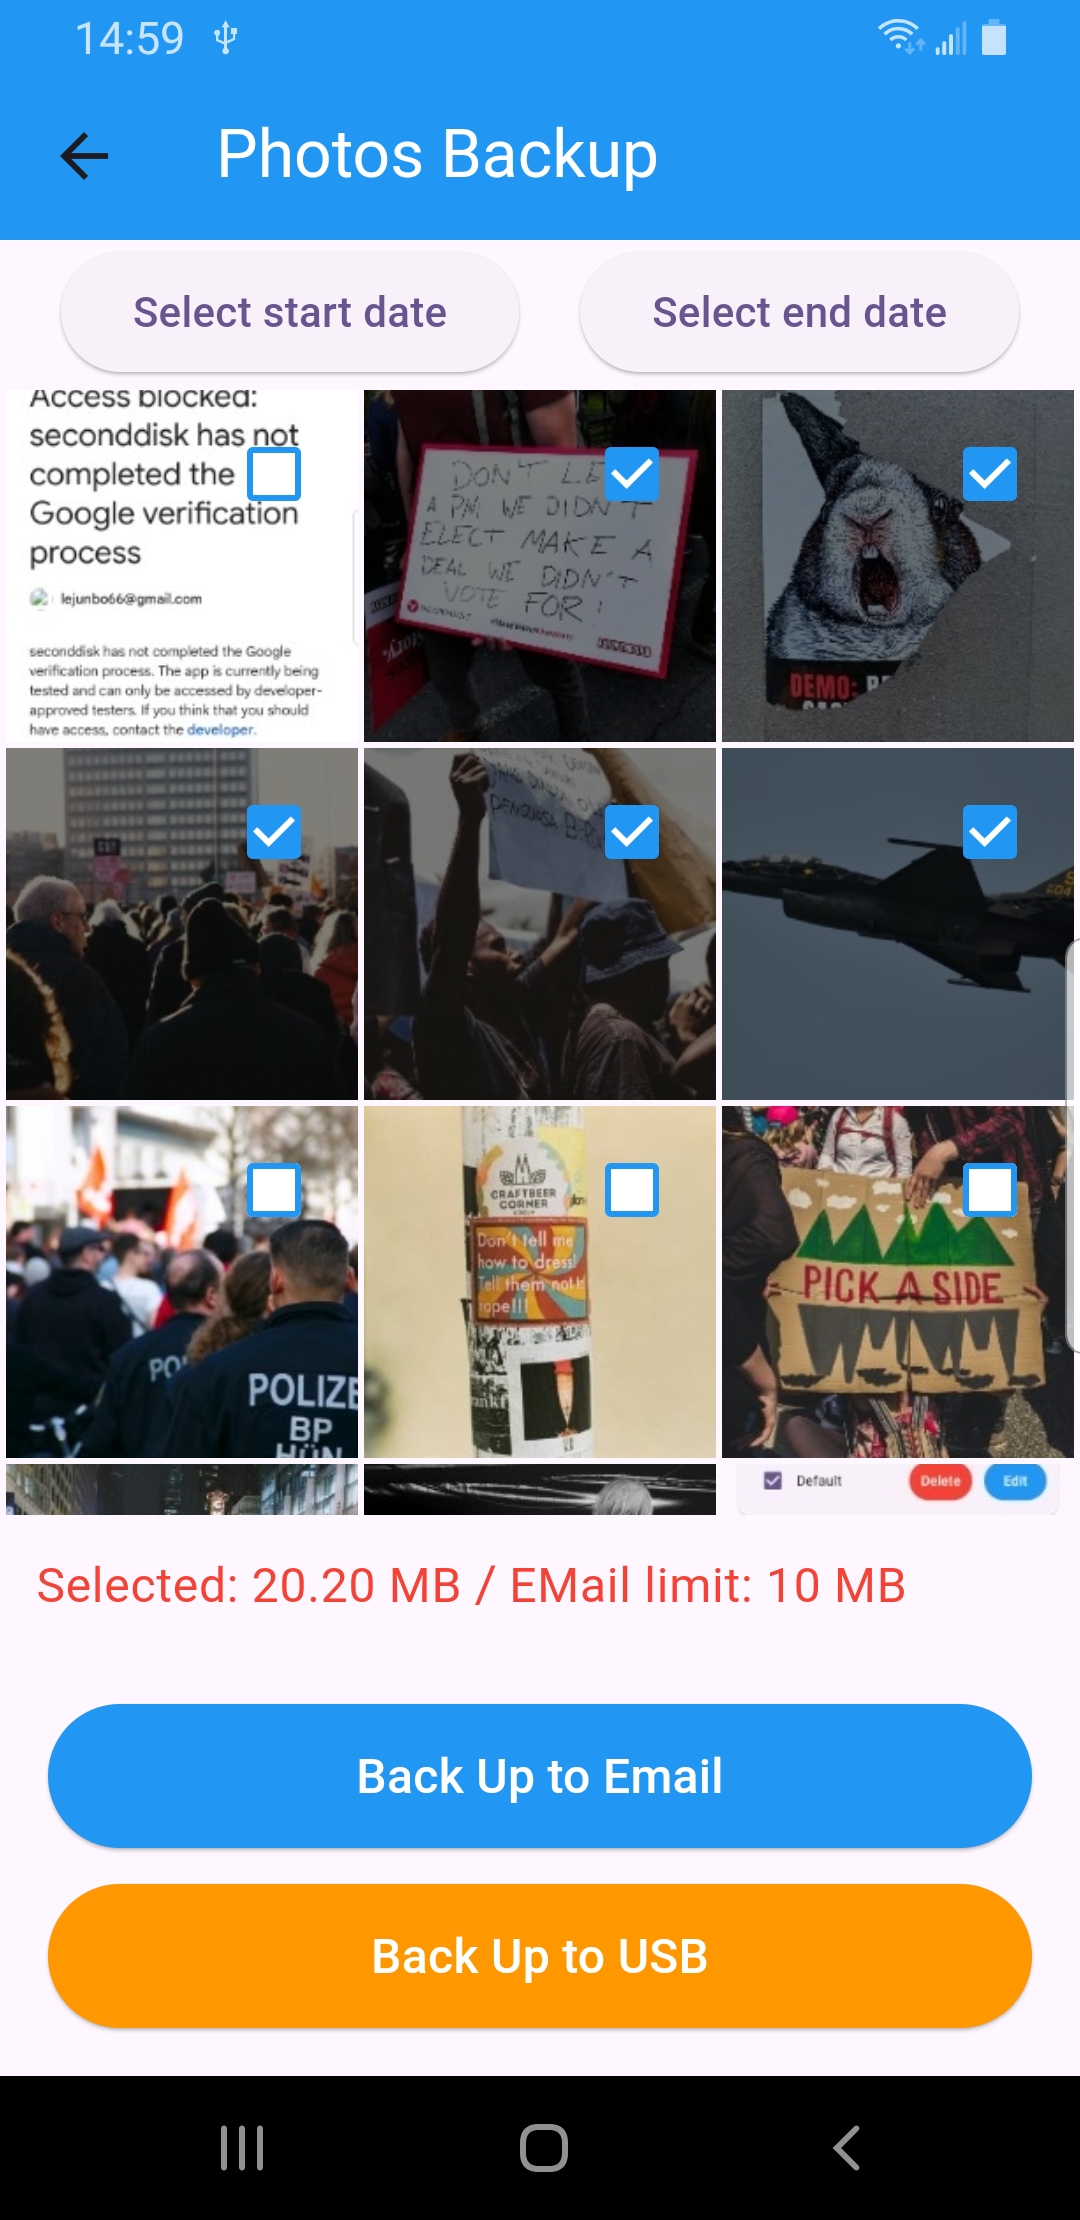
In Photo Backup, narrow the range with Select start date / Select end date if you like, tick the photos you want, then tap Back Up to Email.
Contacts
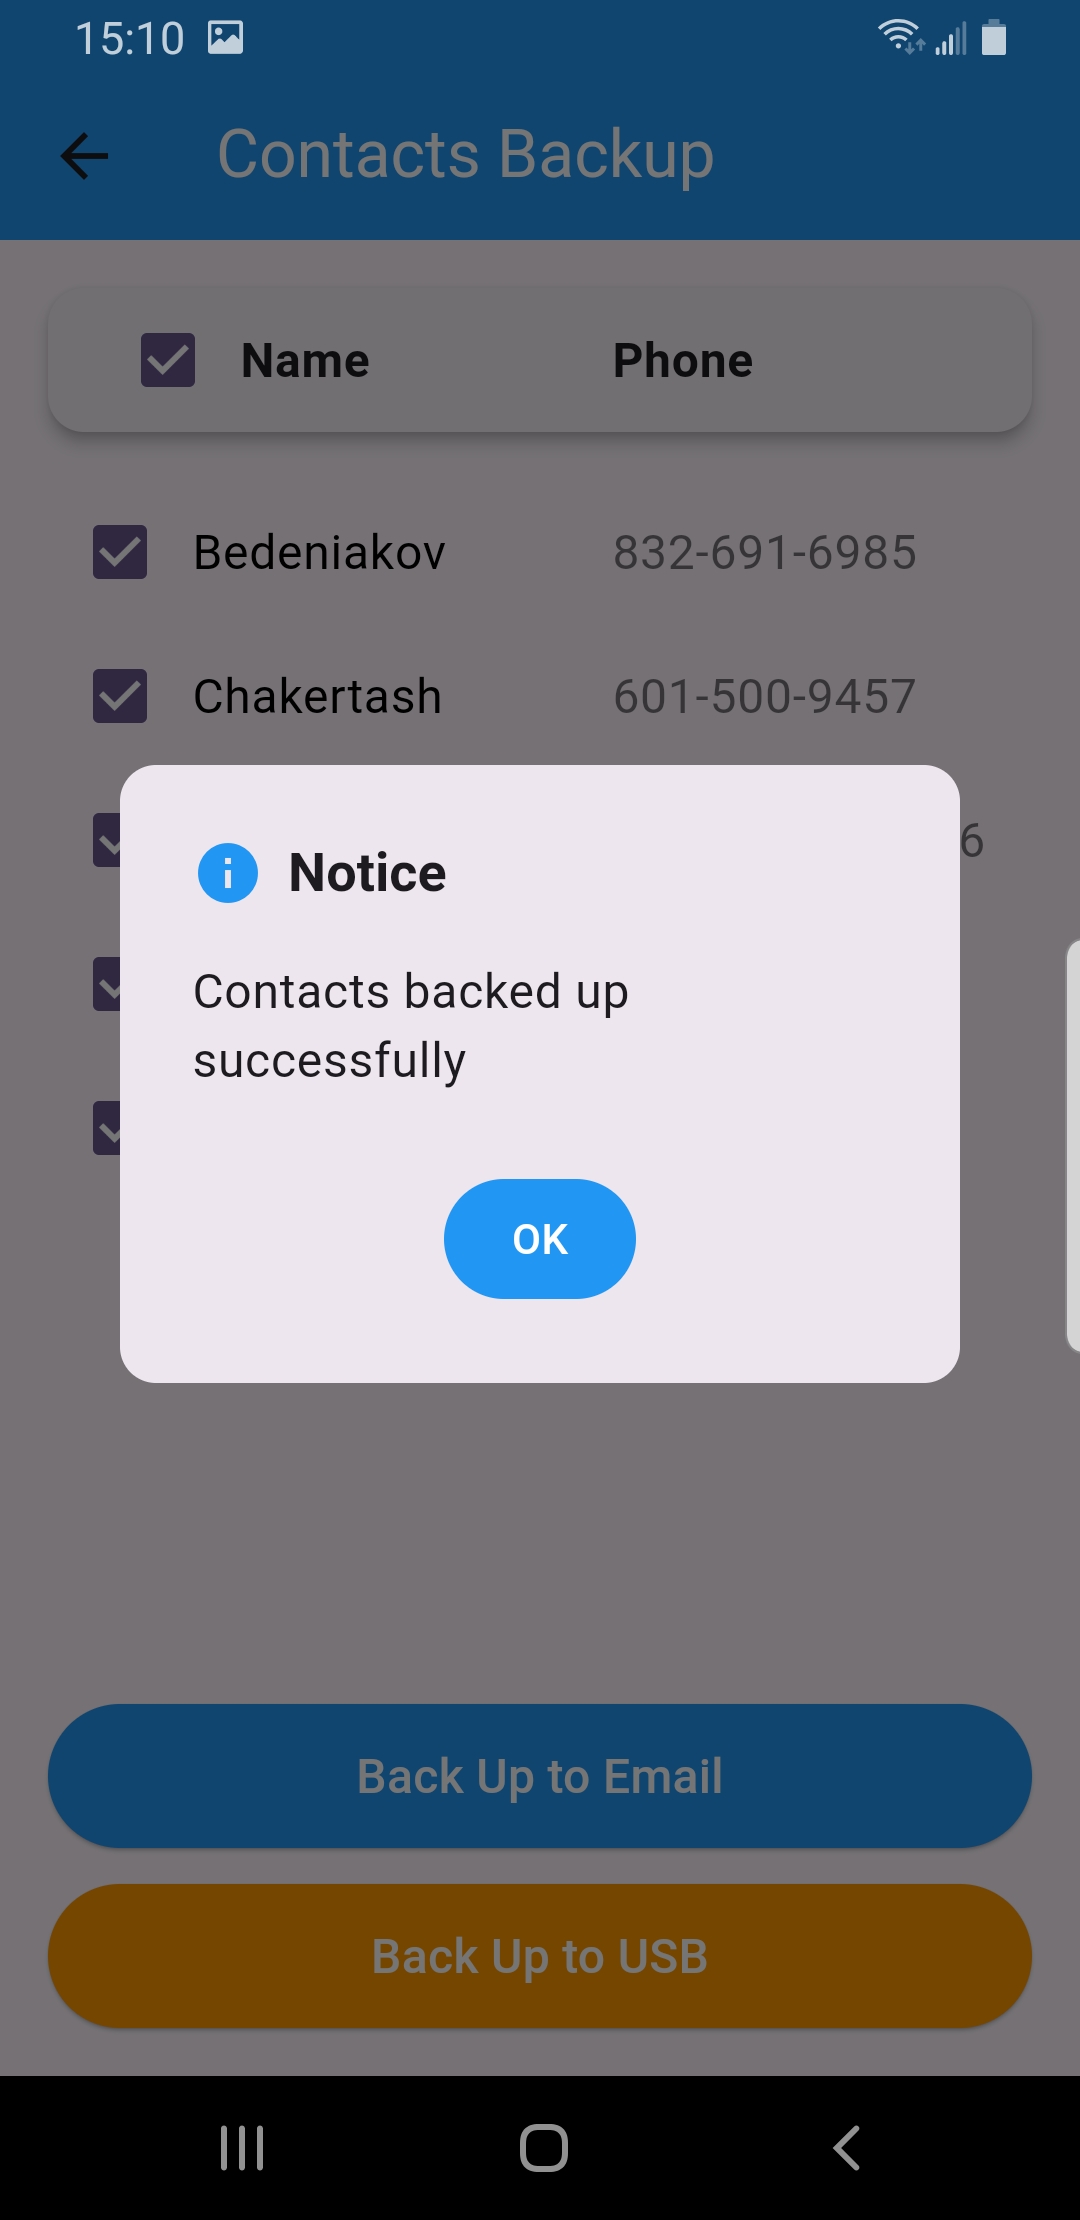
In Contacts Backup, tick individual names or use the header checkbox to select all, then tap Back Up to Email.
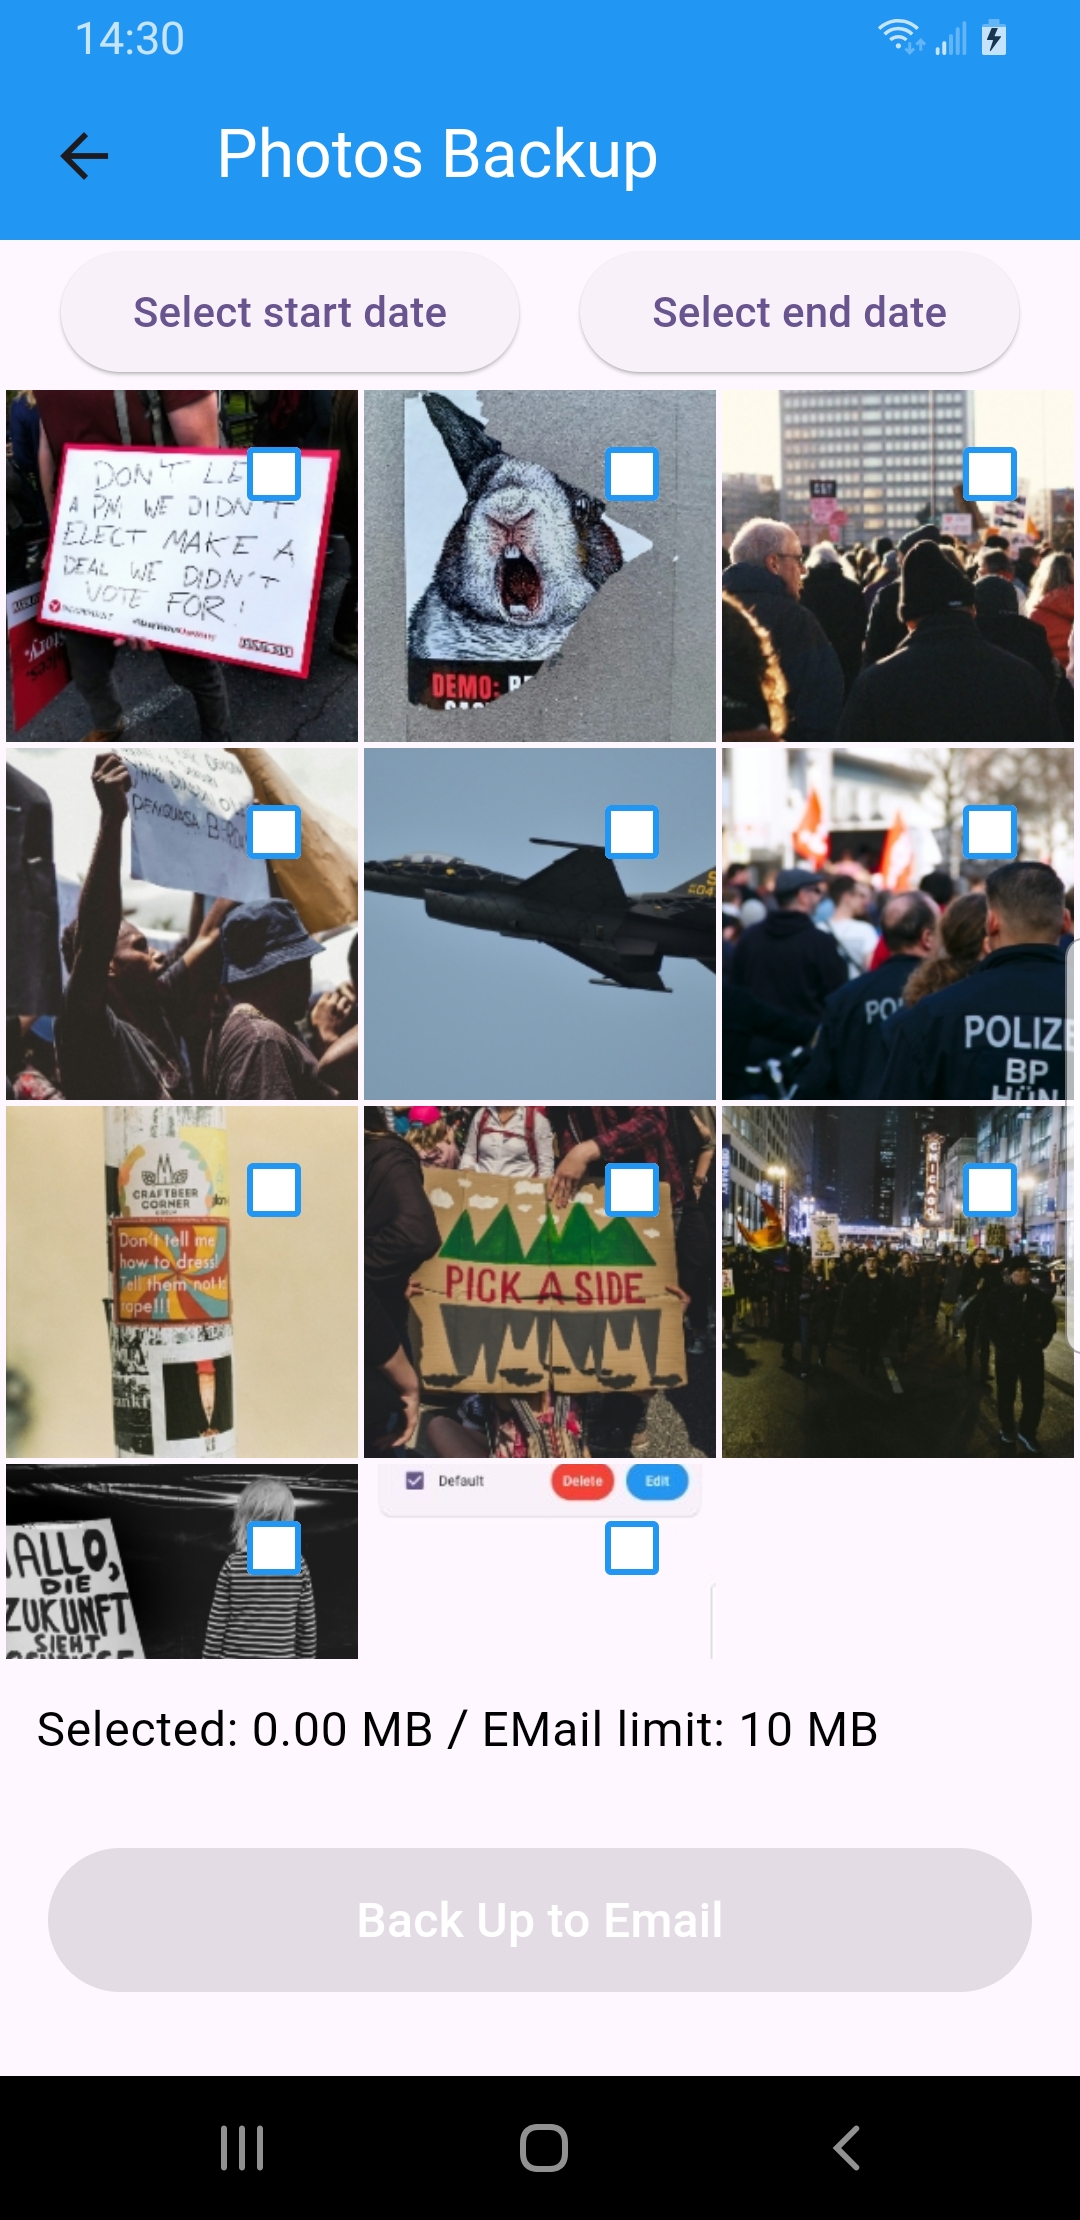
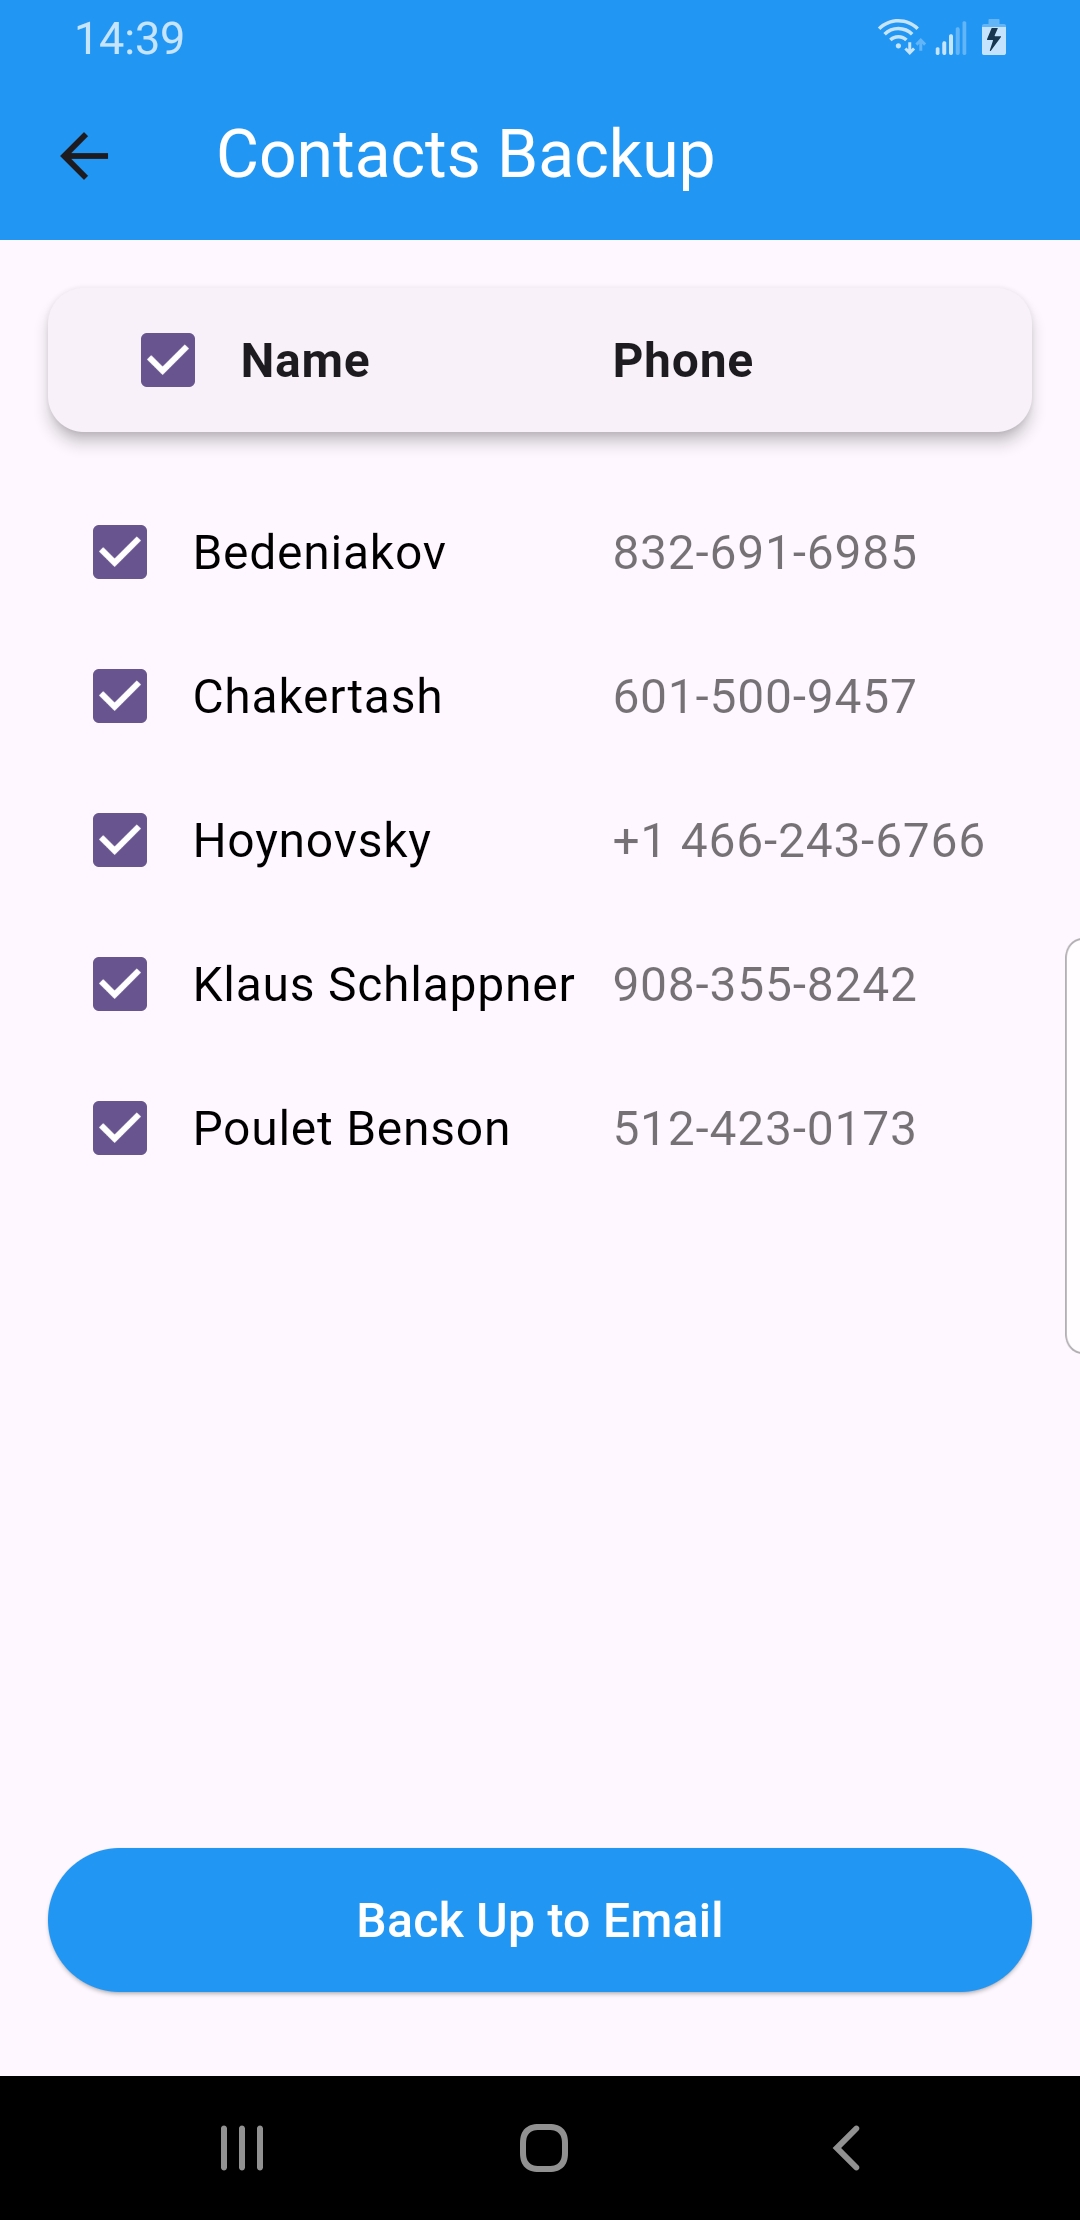
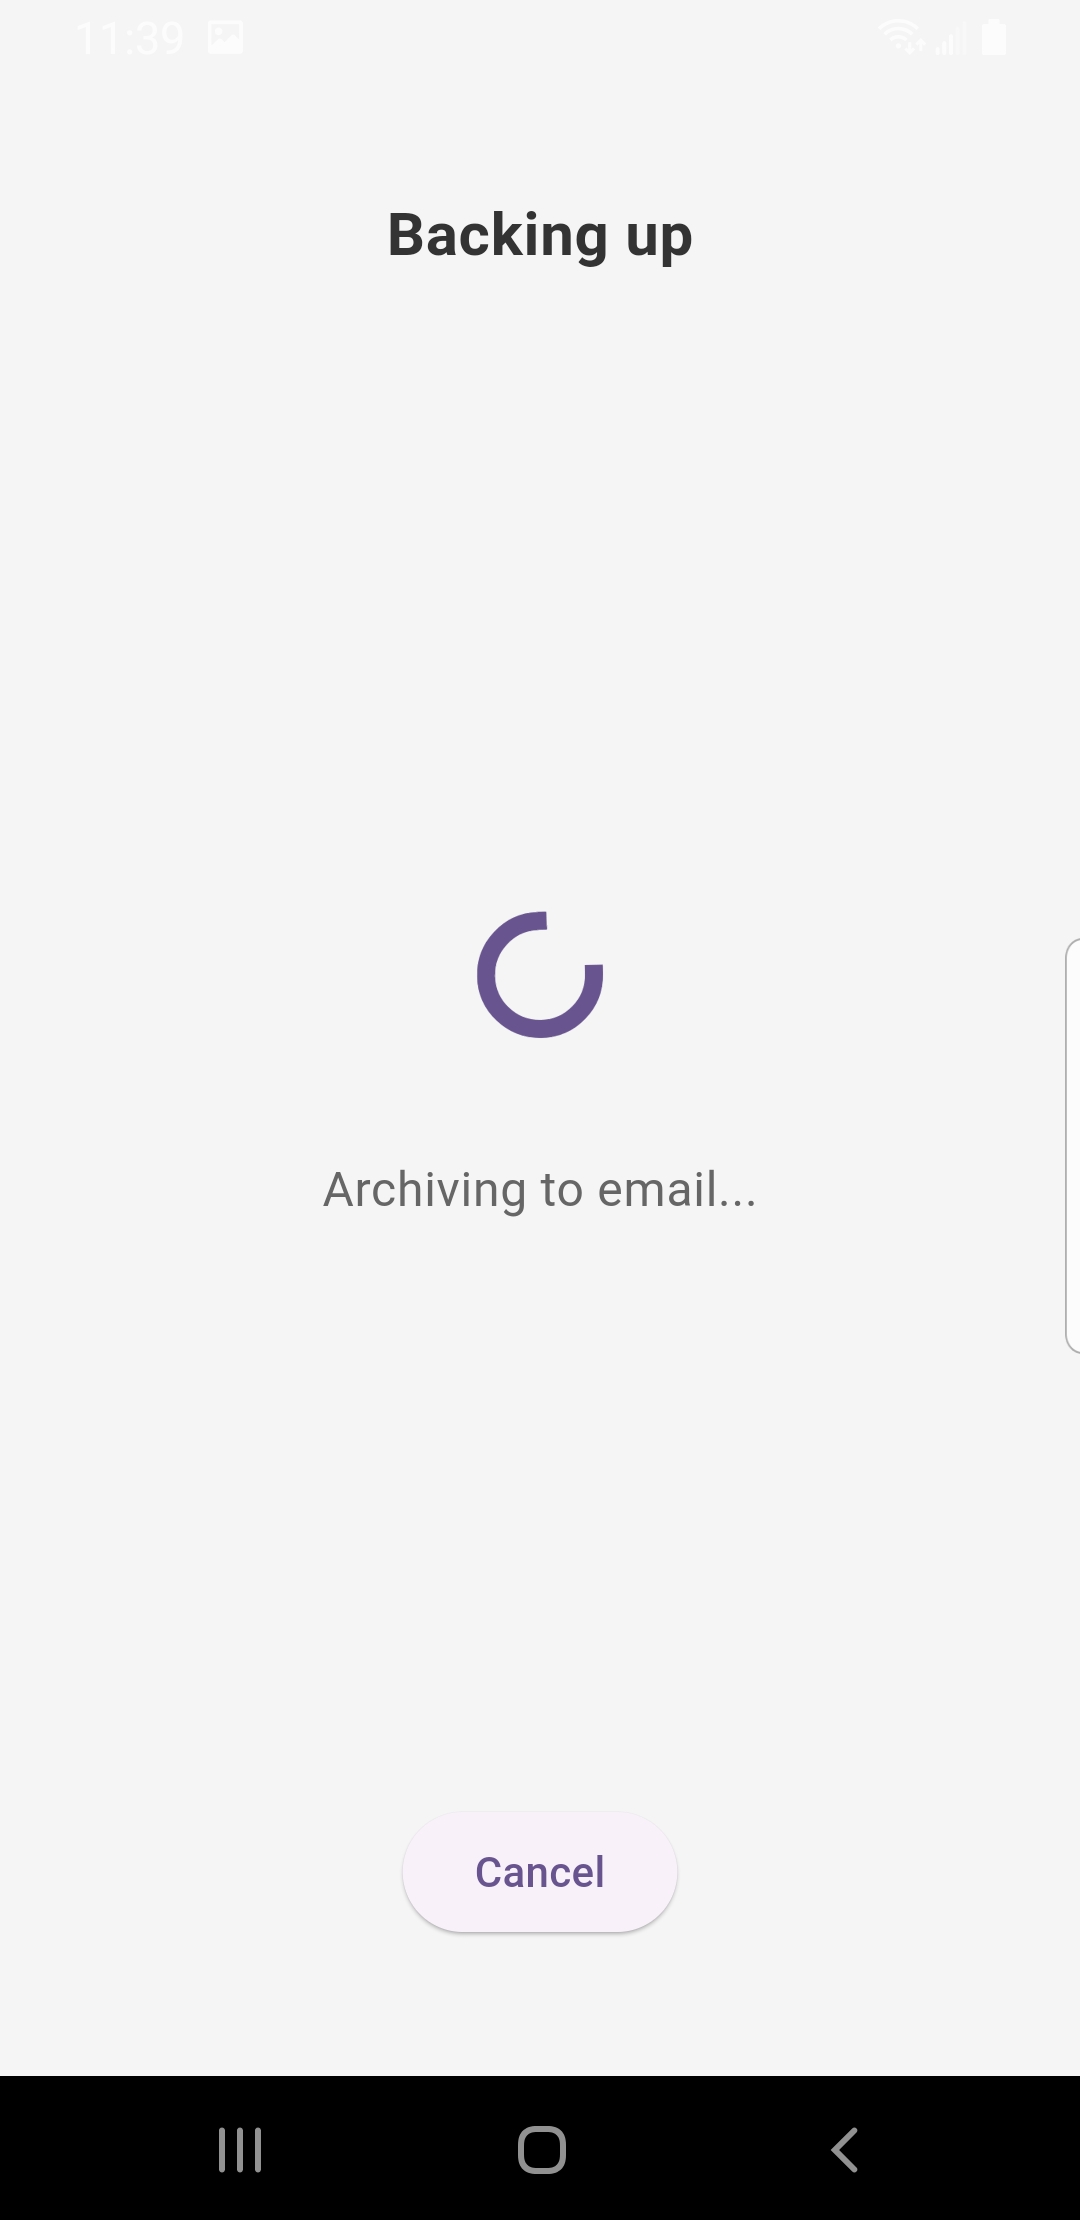
Mind the attachment limit: backups are sent as email attachments, so each one must fit under your email’s limit (SecondDisk shows Selected… / Email limit…). If a photo set is too big, shorten the date range or select fewer items.
5. Check your backup records
Open the Email Log
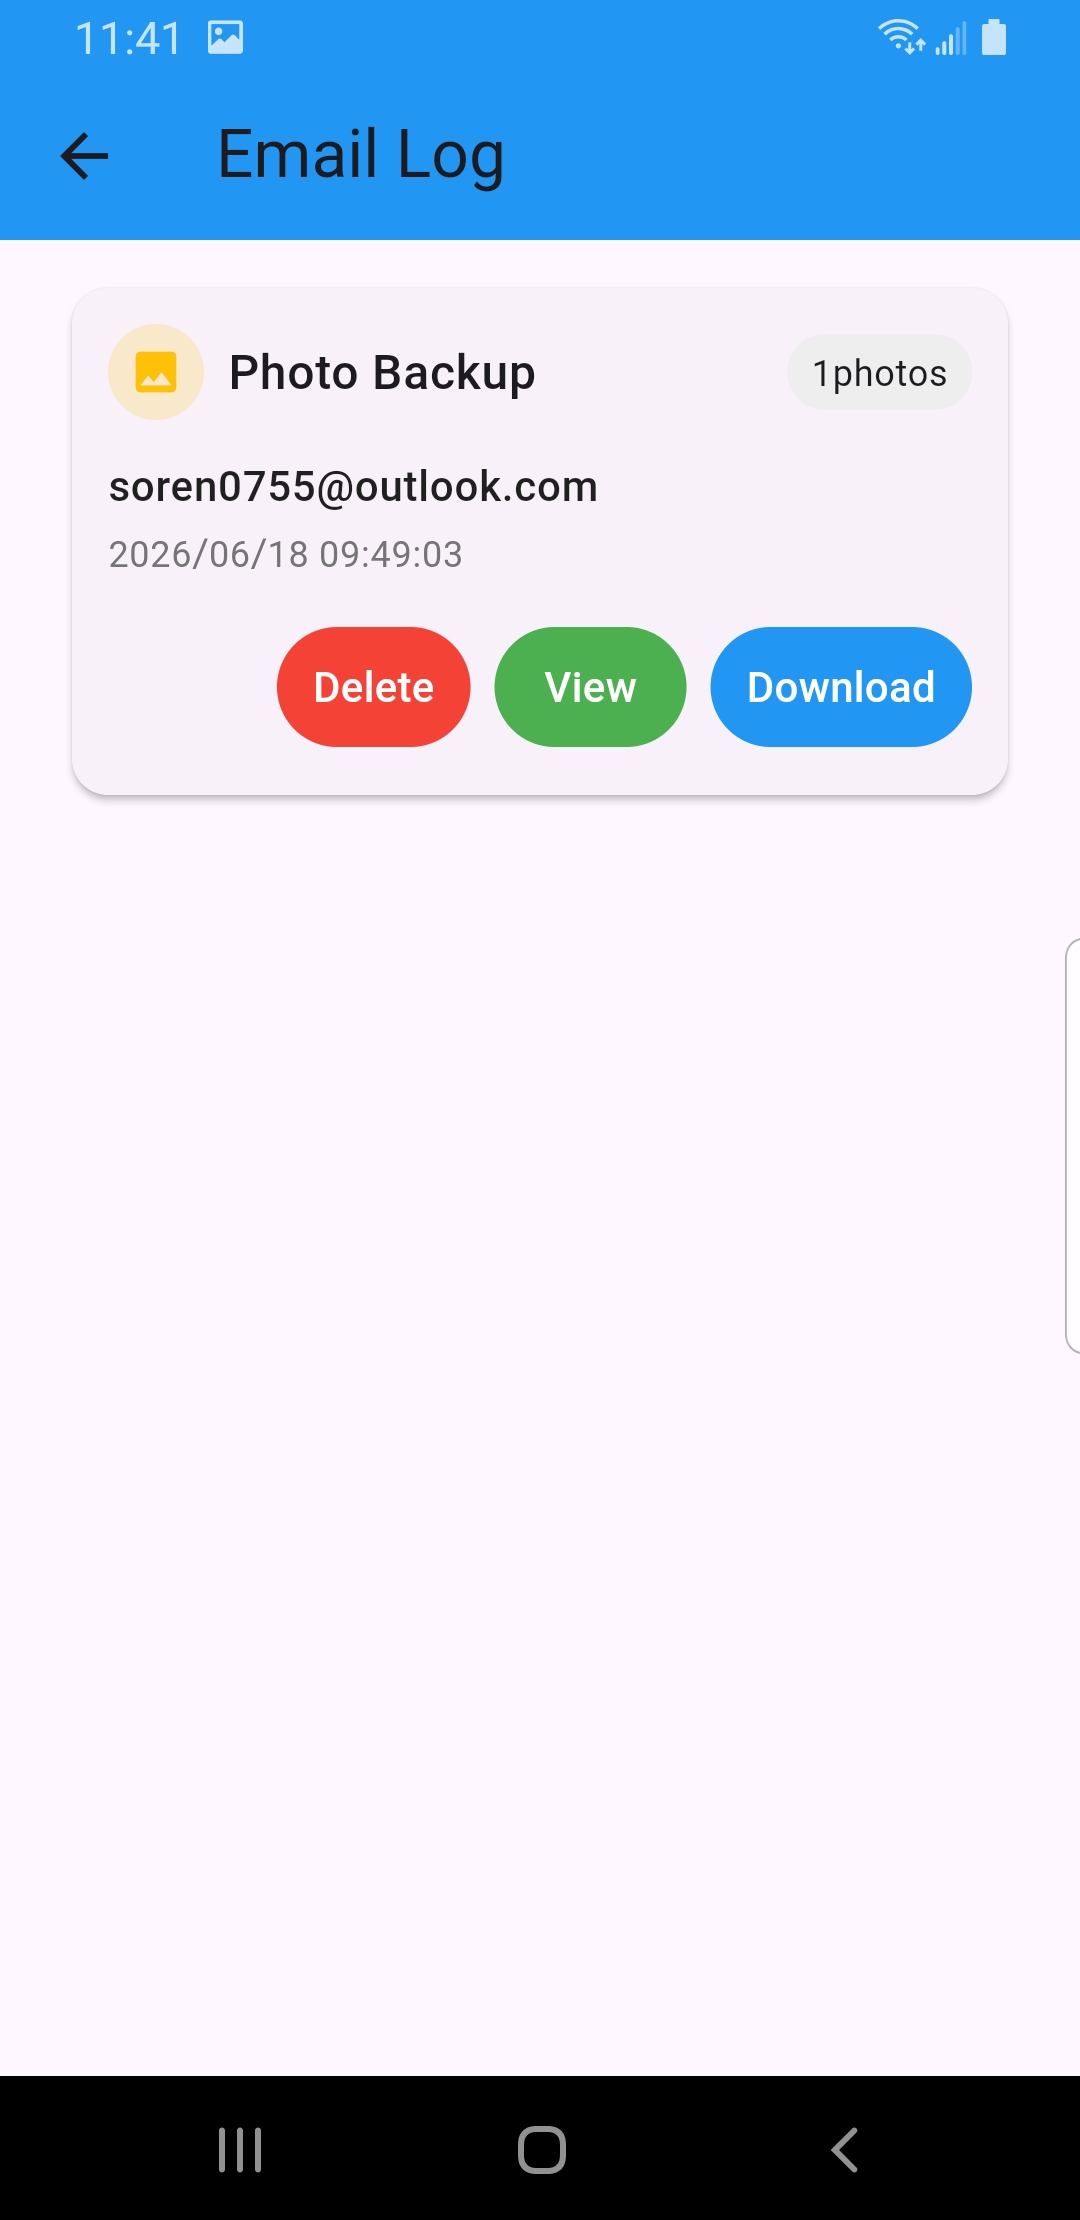
Tap Backup Records on the home screen to open the Email Log. Each entry shows the backup type, how many items, the email it was sent to, and the date.
View, download or delete
Use View to preview a backup, Download to save it back to your phone, or Delete to remove the record.
6. Back up to a USB drive
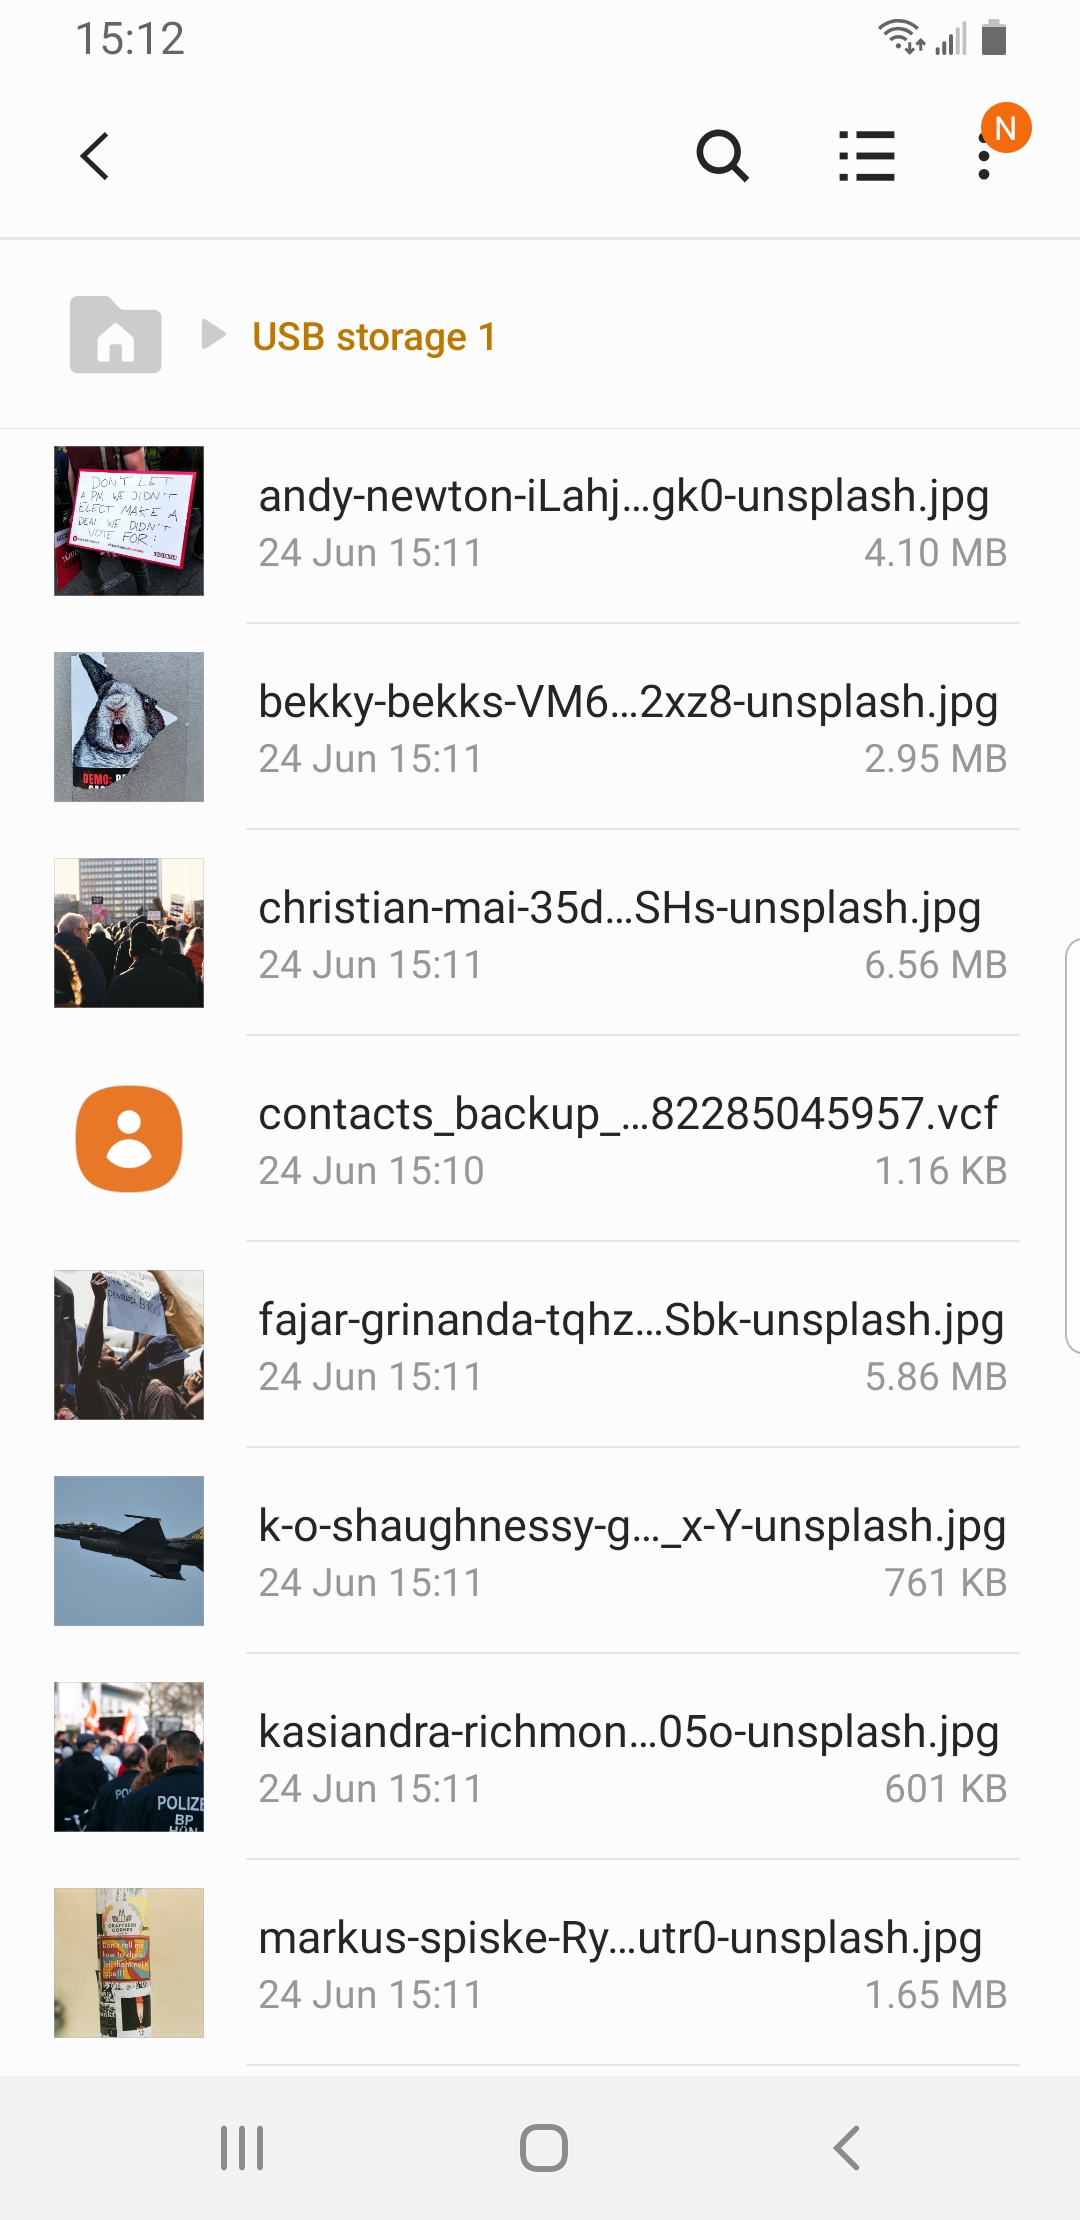
Prefer a local copy you keep in hand? Connect a USB drive to your phone and back it up there too — no internet or email needed. Pick what to include, tap Back Up to USB, then choose the destination folder on the connected drive.
Choose photos or contacts
Open Photo Backup or Contacts Backup, select the items you want to copy, then tap Back Up to USB.
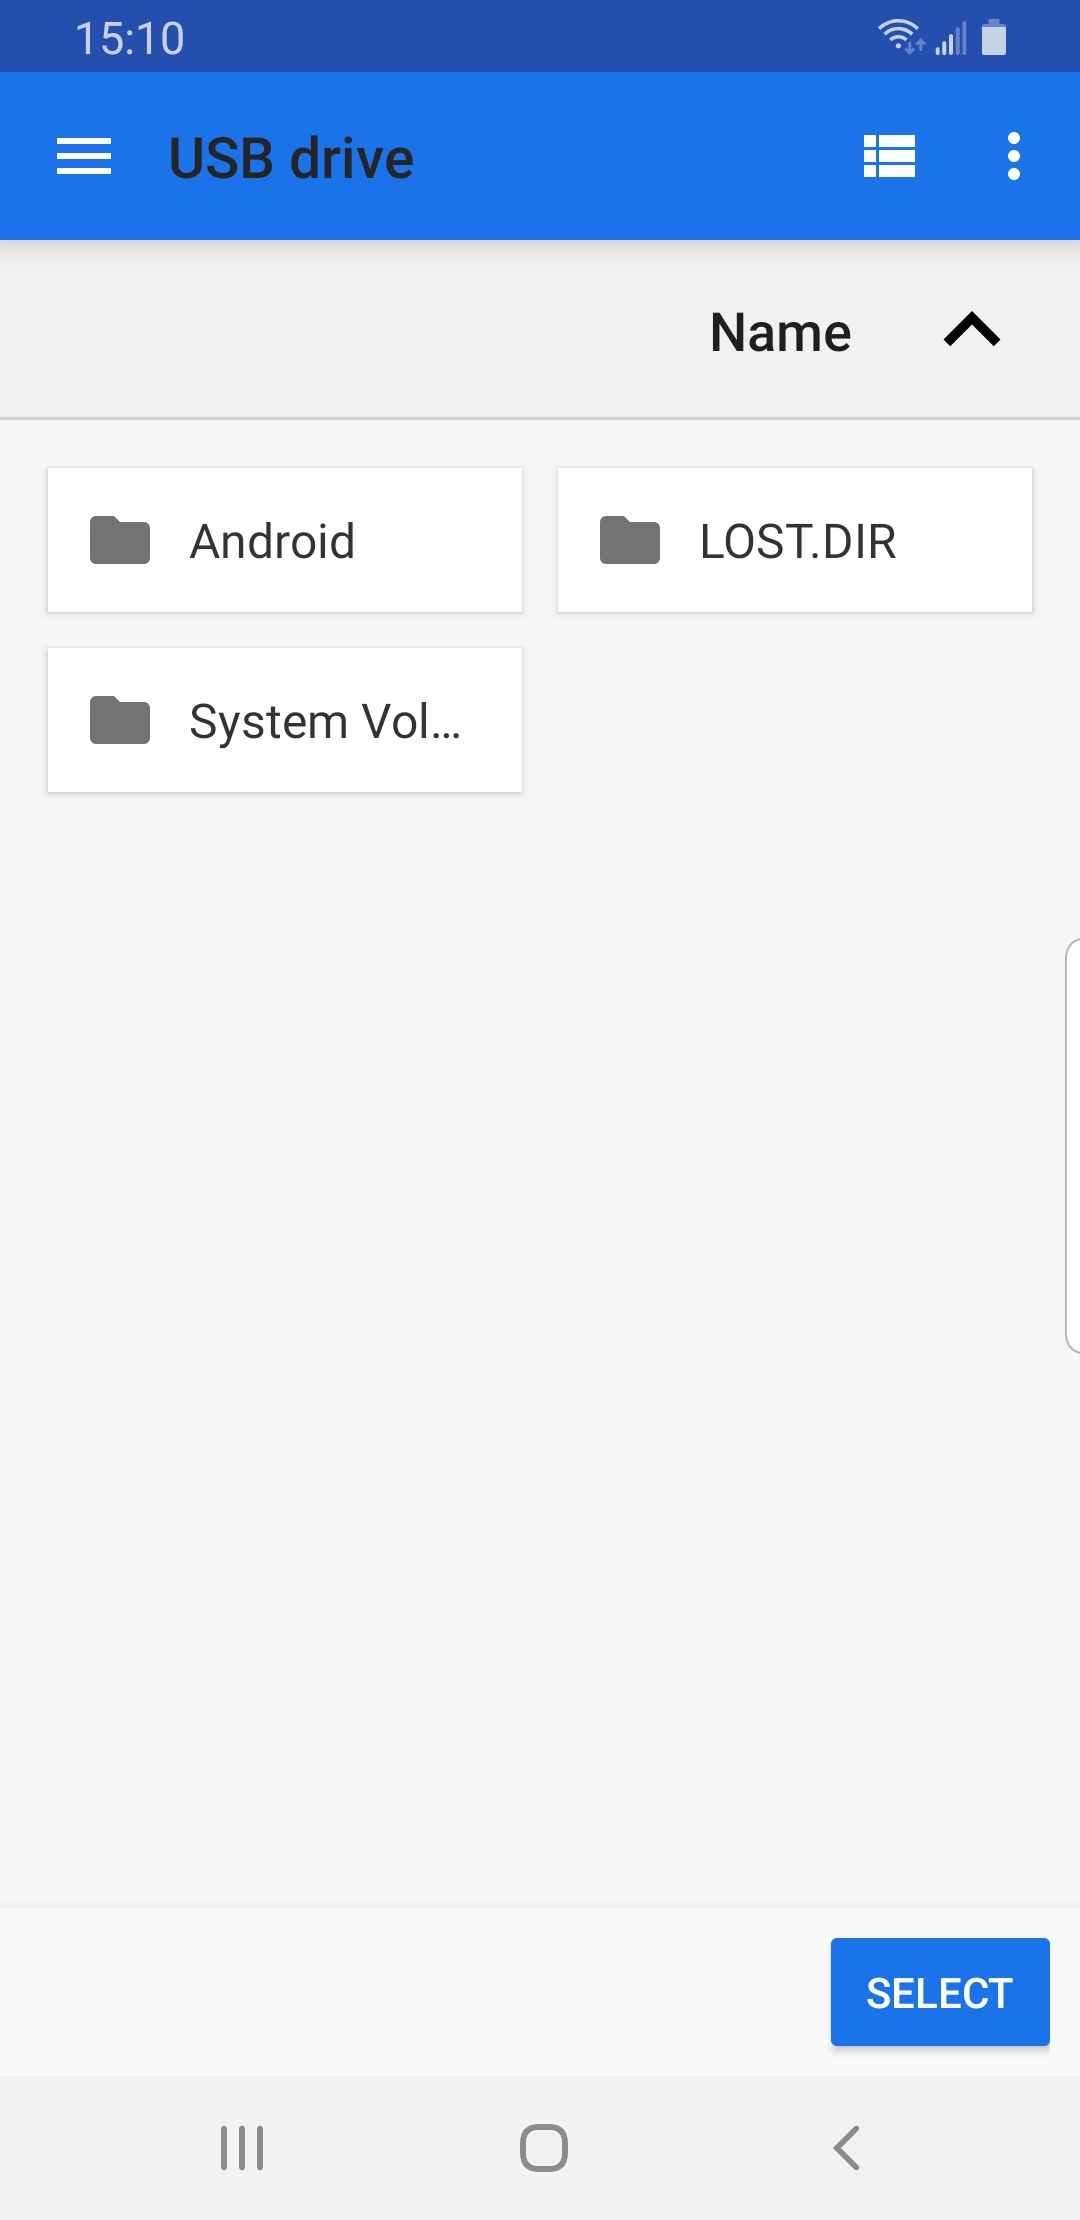
Select the USB destination
Android opens the file picker for your USB drive. Choose the folder where the backup should be saved, then tap SELECT.
Confirm the backup
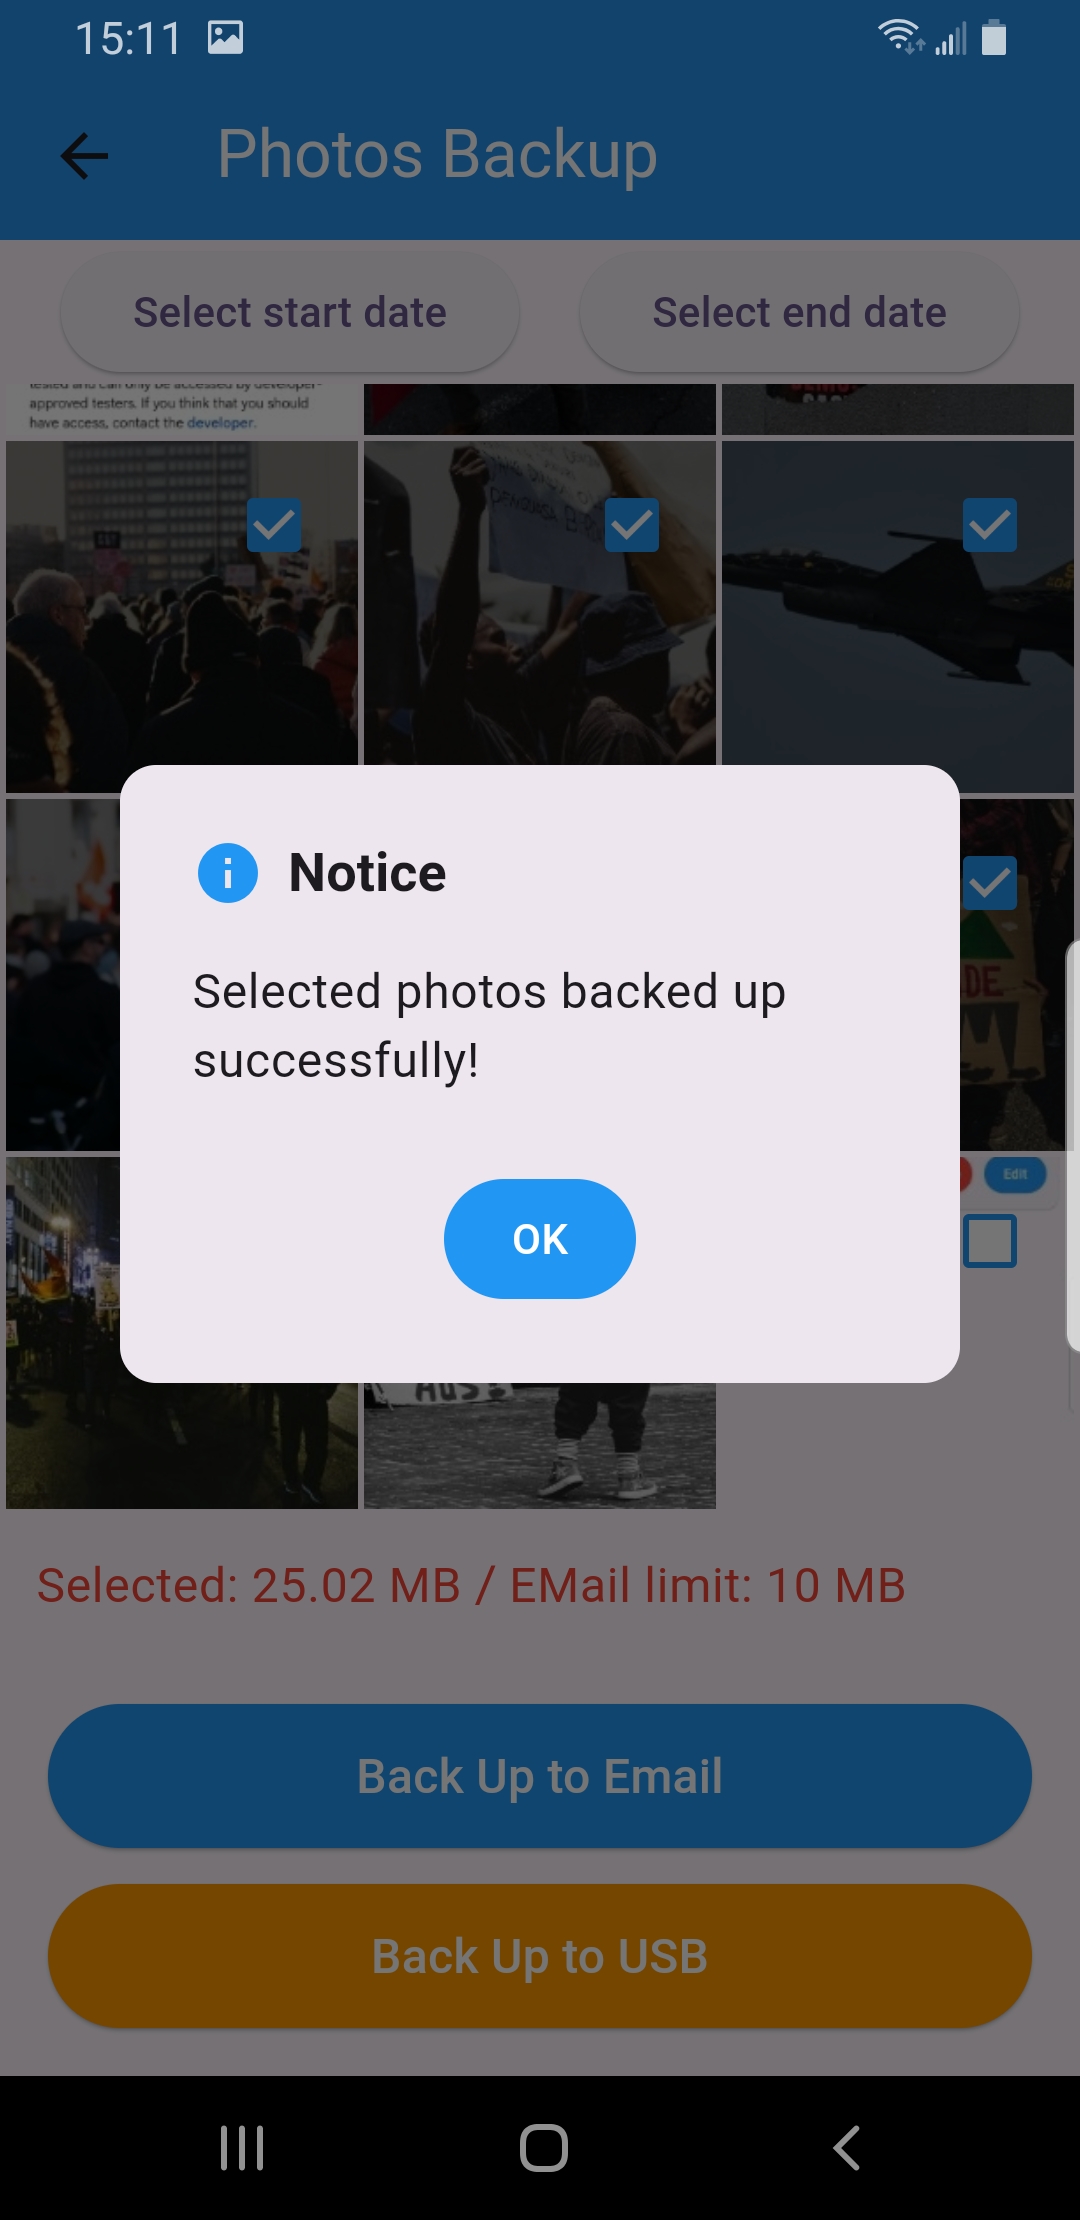
SecondDisk shows a success notice when the selected photos or contacts have been copied to the USB drive.
7. Get your data back
Download from your email or the Email Log
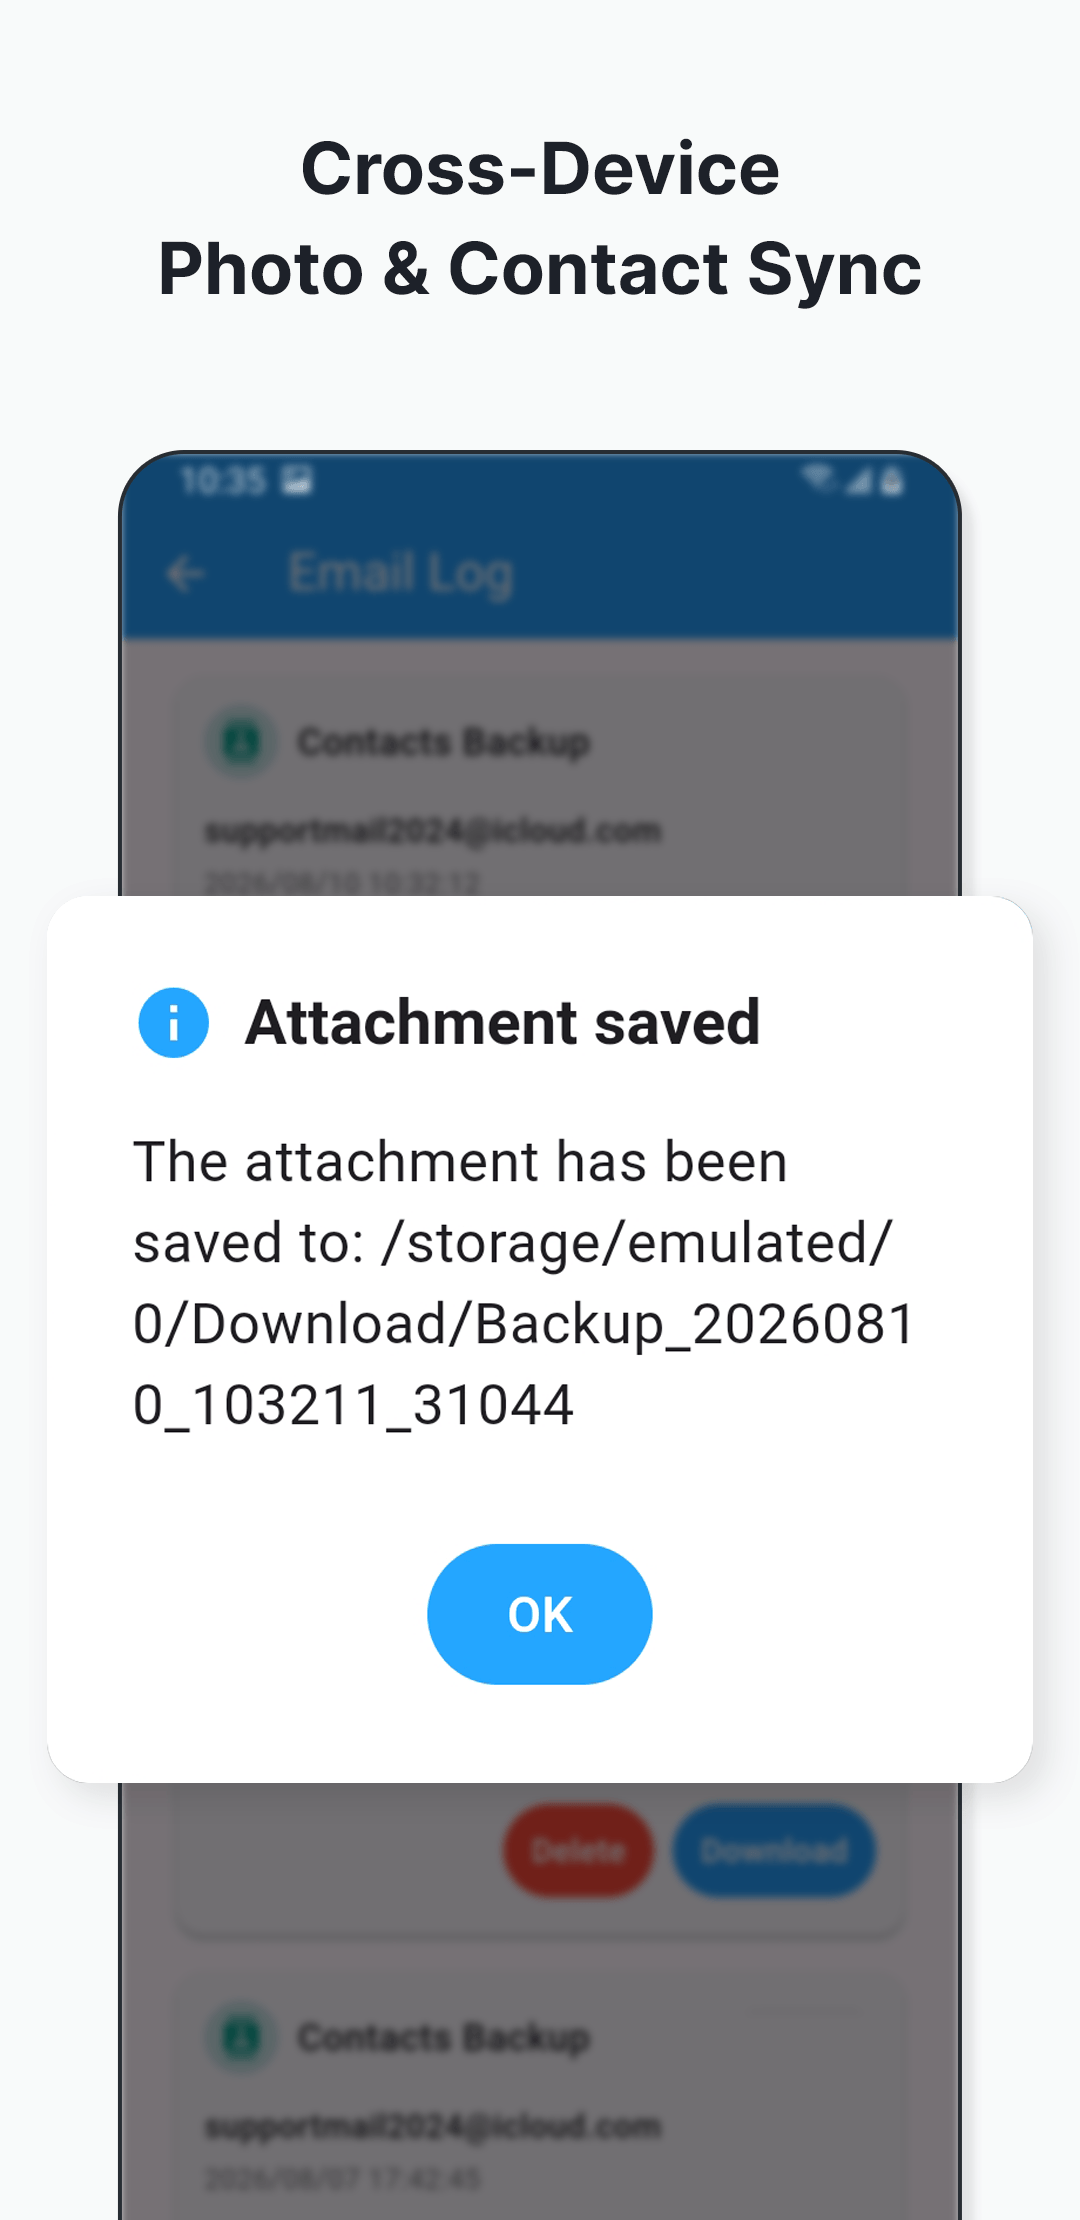
Open the email SecondDisk sent and download the attachment, or tap Download on any entry in the in-app Email Log.
Import your contacts
Contact backups are saved in a standard format, so you can open the file and import it straight into your phone’s Contacts app.
8. Tips & troubleshooting
- Use an app password. For the Authorization Code, generate an app-specific password in your email account’s security settings — your normal login password usually won’t work.
- Keep backups under the email limit. If a backup is too large to send, shorten the photo date range or select fewer items so it fits the attachment limit.
- Backup didn’t arrive? Check your email’s spam folder, then use Send Test in Email Configuration to confirm your settings.
- Allow the permission prompts. SecondDisk needs photo and contact access to include that data; if you tapped Deny, re-enable it in Android Settings → Apps → SecondDisk.
- Can’t find a past backup? Open Backup Records (Email Log) to view, re-download, or delete any backup you’ve sent.
- Still stuck? Email us at support@seconddisk.com and we’ll help.